
The Sweet Truth about Sourdough Bread

Let’s face it, most of the bread options sold in the stores today don’t contribute any nutritional value to our bodies. They’re over processed and made with quick rising yeast making it hard for us to digest and leave us feeling not so great. Sourdough on the other hand, not only tastes amazing - but is a much better option if you aren't giving up bread anytime soon. (I know I am not!)
Sourdough bread is different because the fermentation process (it’s a labor of love) takes longer than traditional bread, but with it comes so many benefits! This includes an increased number of pre and probiotic properties which may improve gut health, it’s easy to digest because most of the hard to digest gluten is broken down, it has a lower glycemic index which may support stable blood sugars, and it contains a variety of vitamins and nutrients: iron, manganese, calcium, B1-B6, B12, folate, zinc, potassium, thiamin, niacin, riboflavin, selenium, iron, magnesium, phosphorus, and vitamin E.
Finally after months of wanting to experiment with sourdough, I got a starter for Christmas from my sister! Then it took me a few more months to finally make anything with it. (it seemed so intimidating at first!) But once you make your first loaf, you’ll be done buying store bought bread because the taste is incomparable and I’ll be honest, it’s pretty easy to do once you get the hang of it!
*There are a lot of recipes out there, varying each step of the process. I found this to work best for me, I hope it does for you too!
I make my levains on Thursday nights and bake 2-3 loaves on Fridays. Usually I keep one for myself and then share the others.
Let’s take a look into the process I do & I would love to hear if you make some loaves of your own!
Supplies you’ll need :
sourdough starter or make your own
Once you have an established starter - I recommend getting a friend to share with you or purchase an established starter vs making one from scratch because it will give you a better bake!
I store my starter in a mason jar covered in the fridge, always unless I’m about to bake with it.
*I also never “discard” any starter into the trash - I leave it all in the same jar.
I pull it out 24 hours before I begin the baking process (9am the day before) and give it a feeding of 25 grams of unbleached all purpose flour and 25 grams room temperature water.
Then that evening, it’s time to build a levain. This should be done the night before bread baking day (about 12 hours prior)
If you’re going to start your baking process the next day at 9am, start the night before at 9pm.
*I create as many levains as I am wanting to bake the next day (3 levains = 3 loaves) in my mason jars. I then feed my starter in the large jar equal parts all purpose flour and water (25 grams) and place back into the fridge until next week. If I want to make a discard recipe in the same weekend, I may feed it more (50 grams) and then make a discard recipe on Saturday or Sunday.
*Discard means that the starter hasn’t been fed within the last 24 hours.
*Hooch is the gray liquid that you may see form on top of unfed starter - this is completely normal and crucial for the moisture content of your starter. Mix it back in, and feed as normal.
*I promise your sourdough is always able to be revived unless there is mold present (very rare). If mold is present, discard immediately and get fresh new starter.
*Getting starter from a friend connects us to one another, it is something that we can limitlessly share.
*When my jar begins to get crusty at the top edges, I add all the starter into a clean jar.
To build a levain :
add 25 grams of ripe sourdough starter to mason jar
add 100 grams room temp water
add 100 grams unbleached all purpose flour
place paper towel over top of jar and secure with a rubber band - leave it sit on the counter over night
*use a food scale to ensure you are measuring as accurately as possible.
The next morning at 9am :
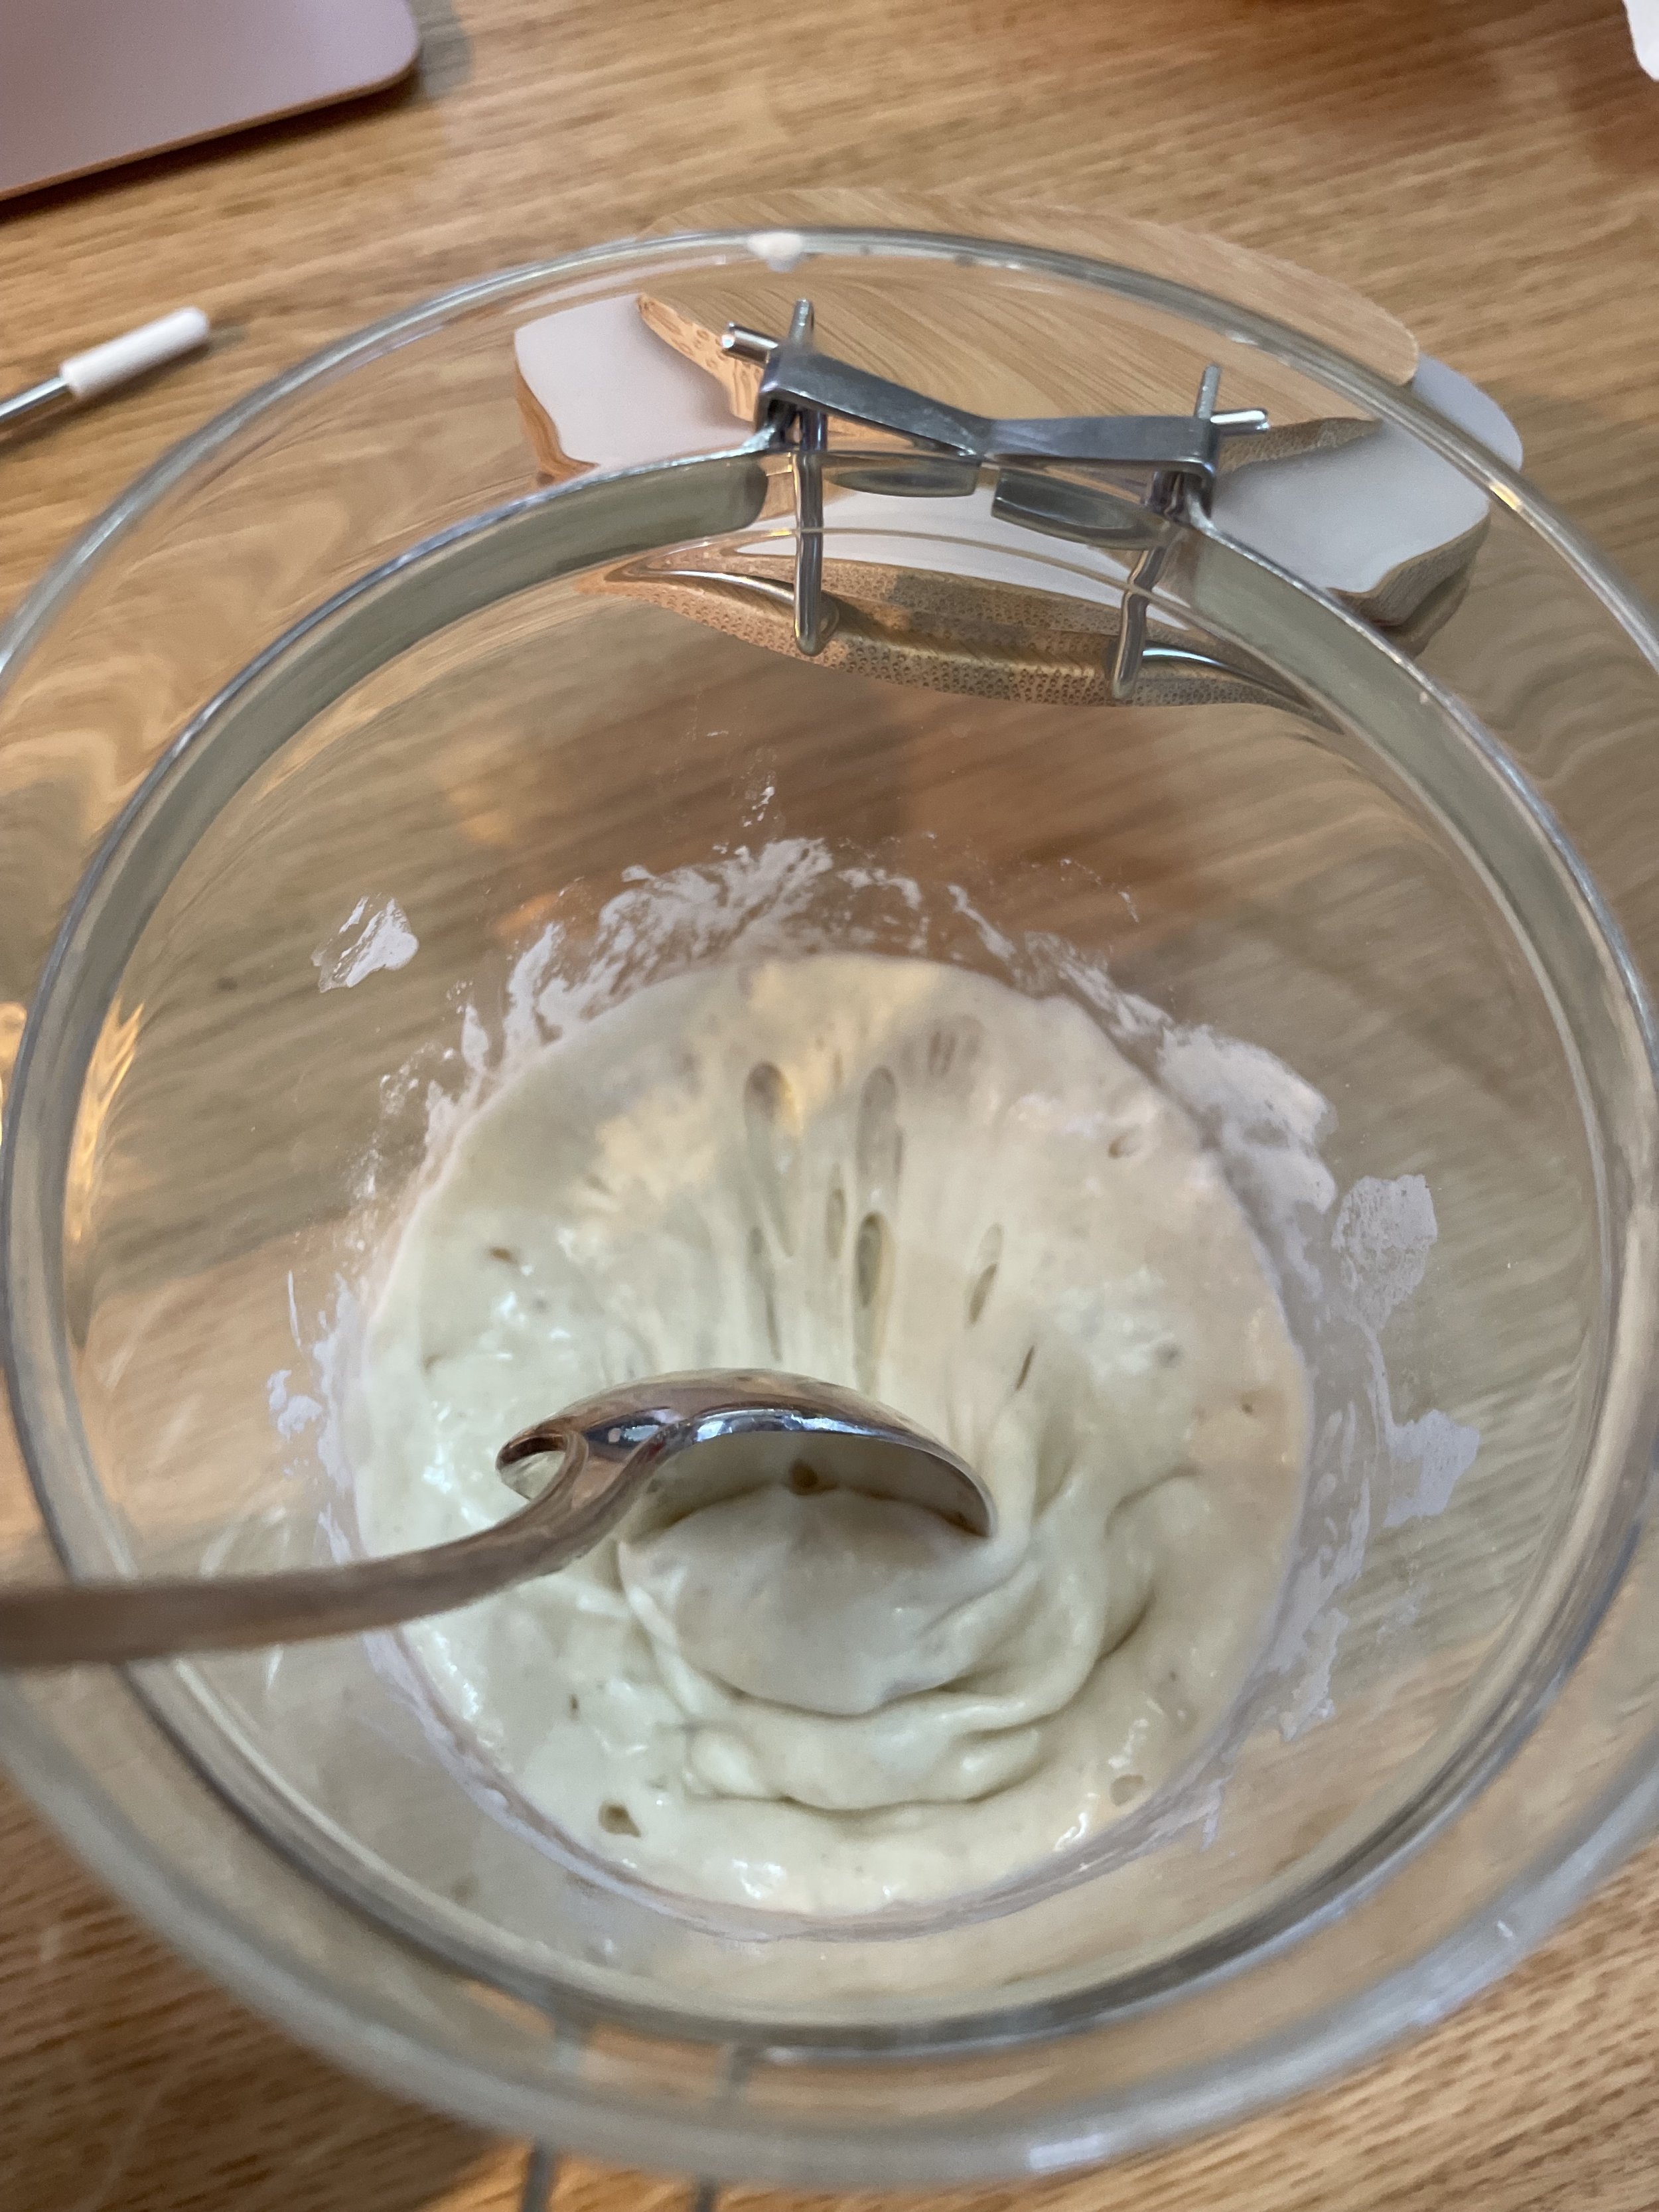
Do a float test by taking a small blob of levain (do not mix) off the top and adding it into a glass of warm water
if it floats, its time to move onto the next step - if it does not, try feeding it with a few grams of equal part flour and water and waiting an hour or so and test again
Mixing Stage
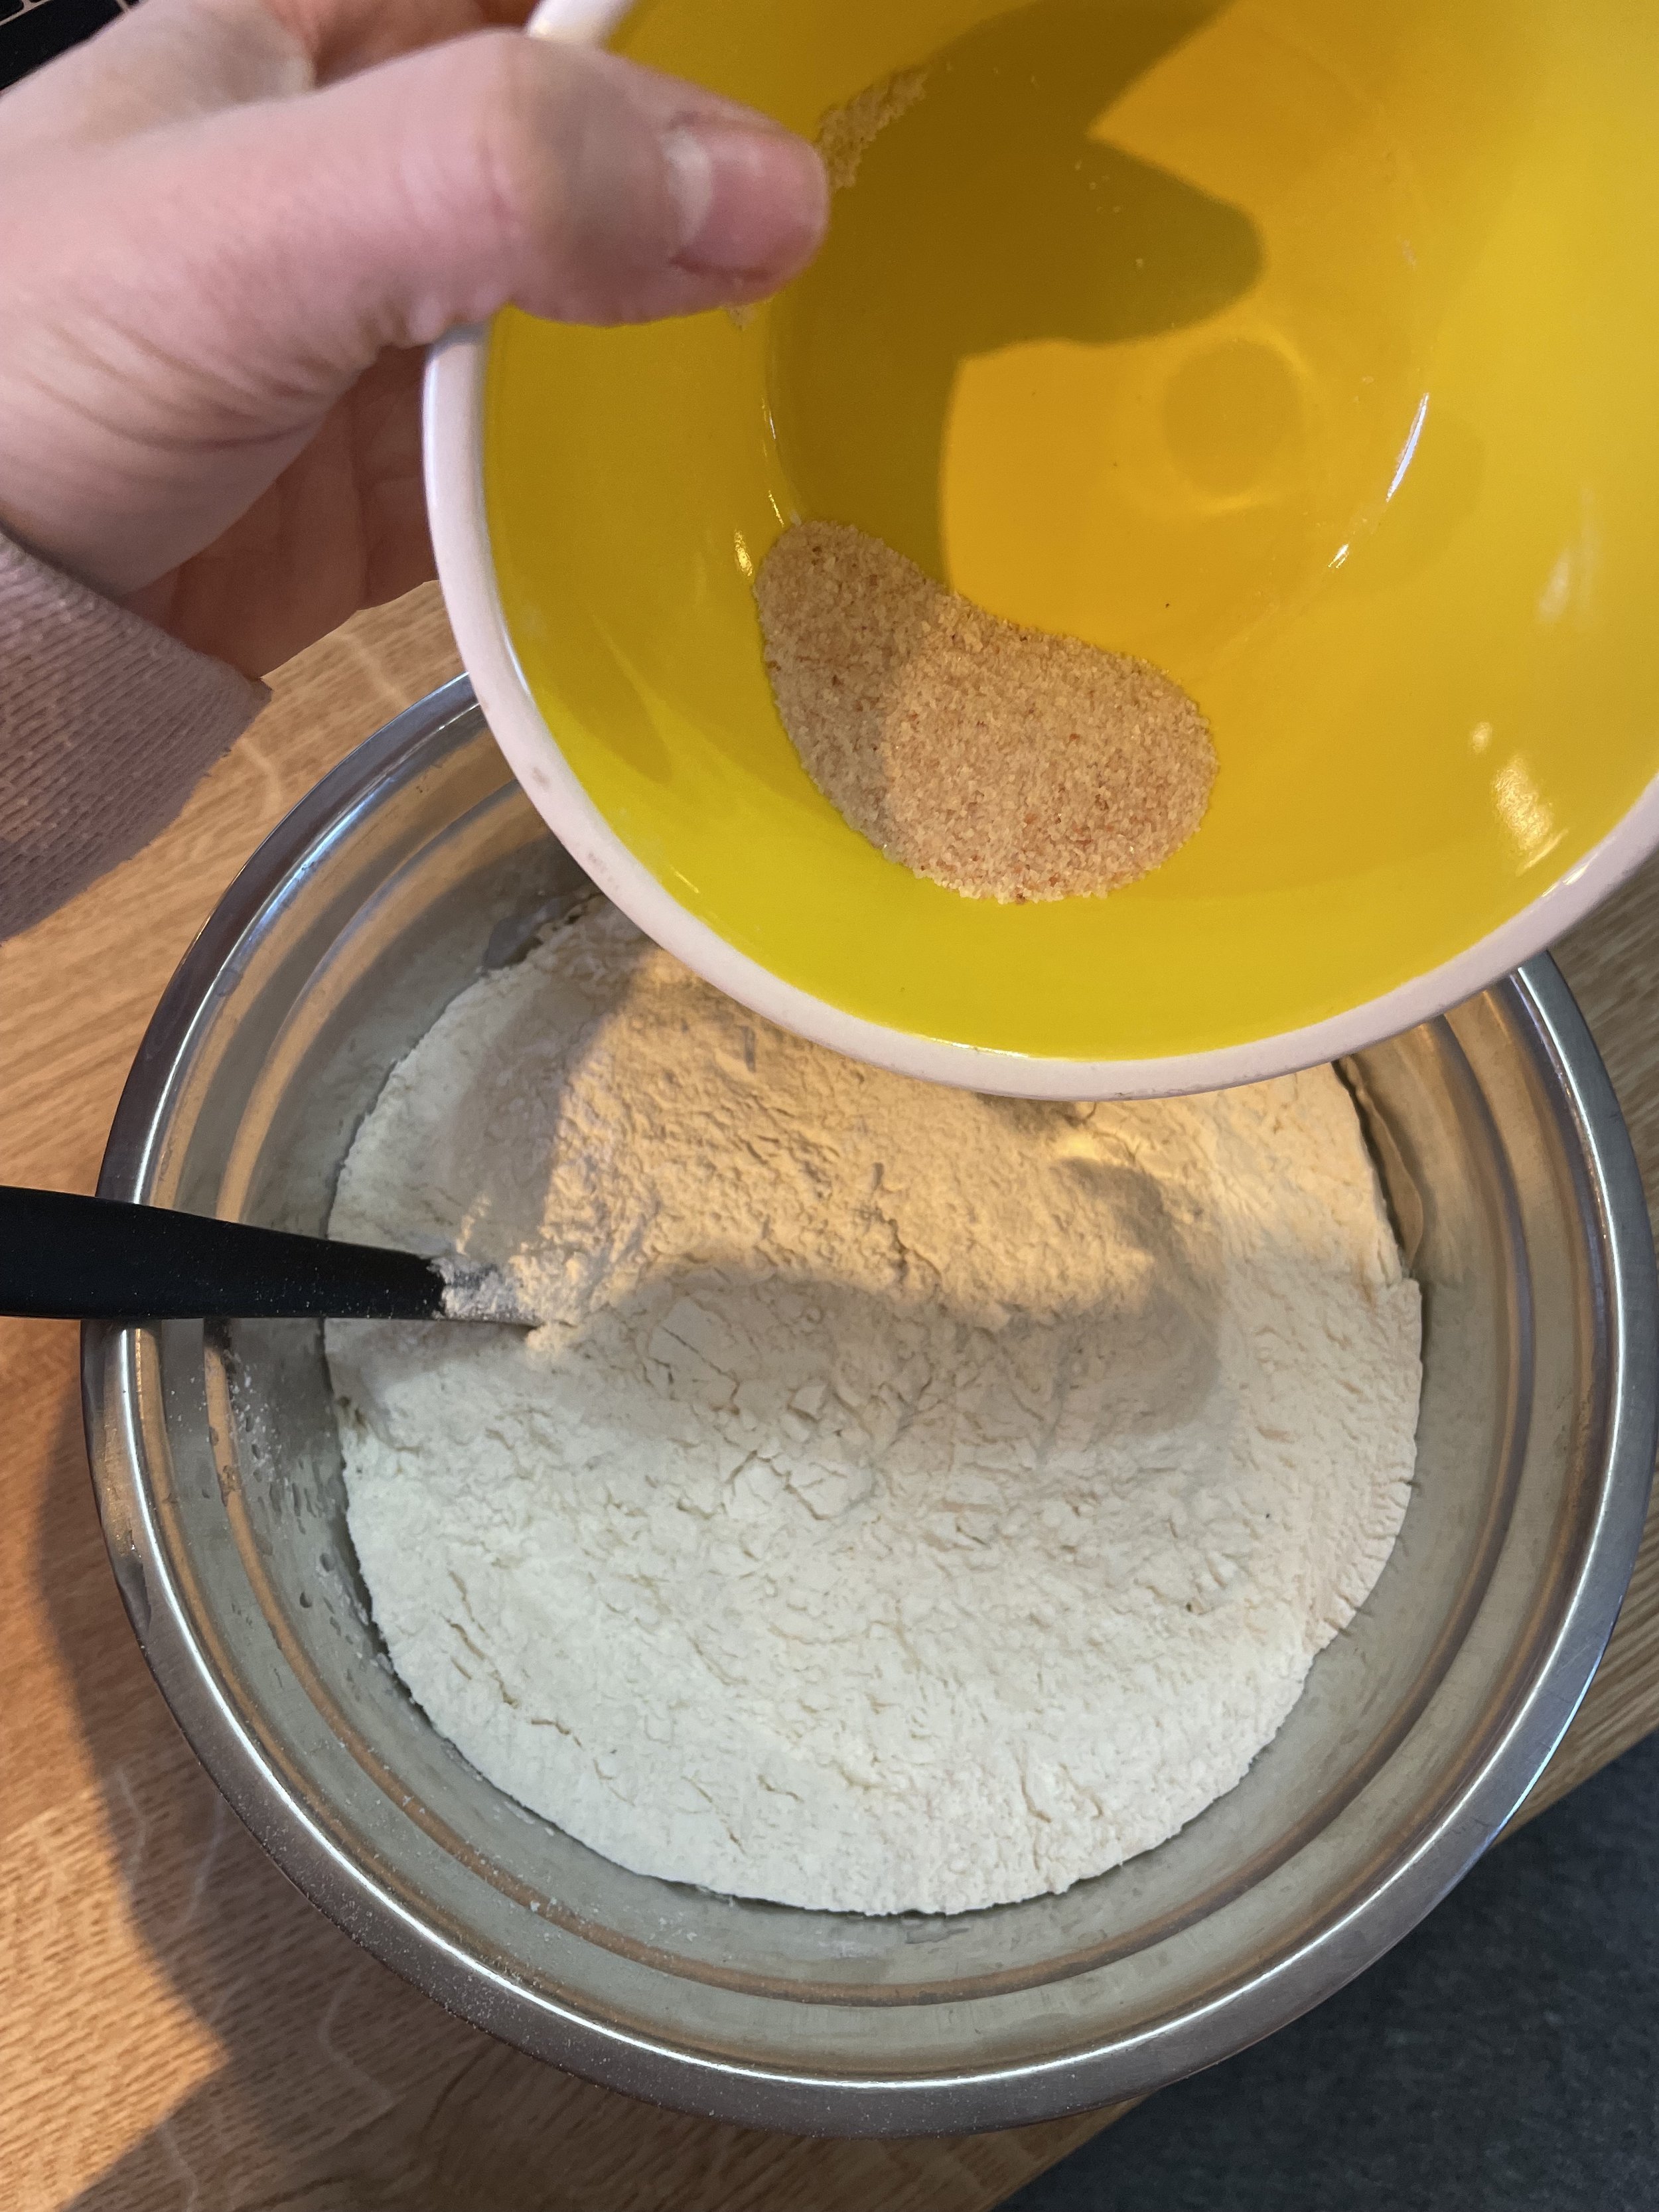
In a large metal mixing bowl add in:
310 grams warm (92 degrees) water
400 grams all purpose flour
50 grams whole wheat flour
12 grams salt
200 grams levain
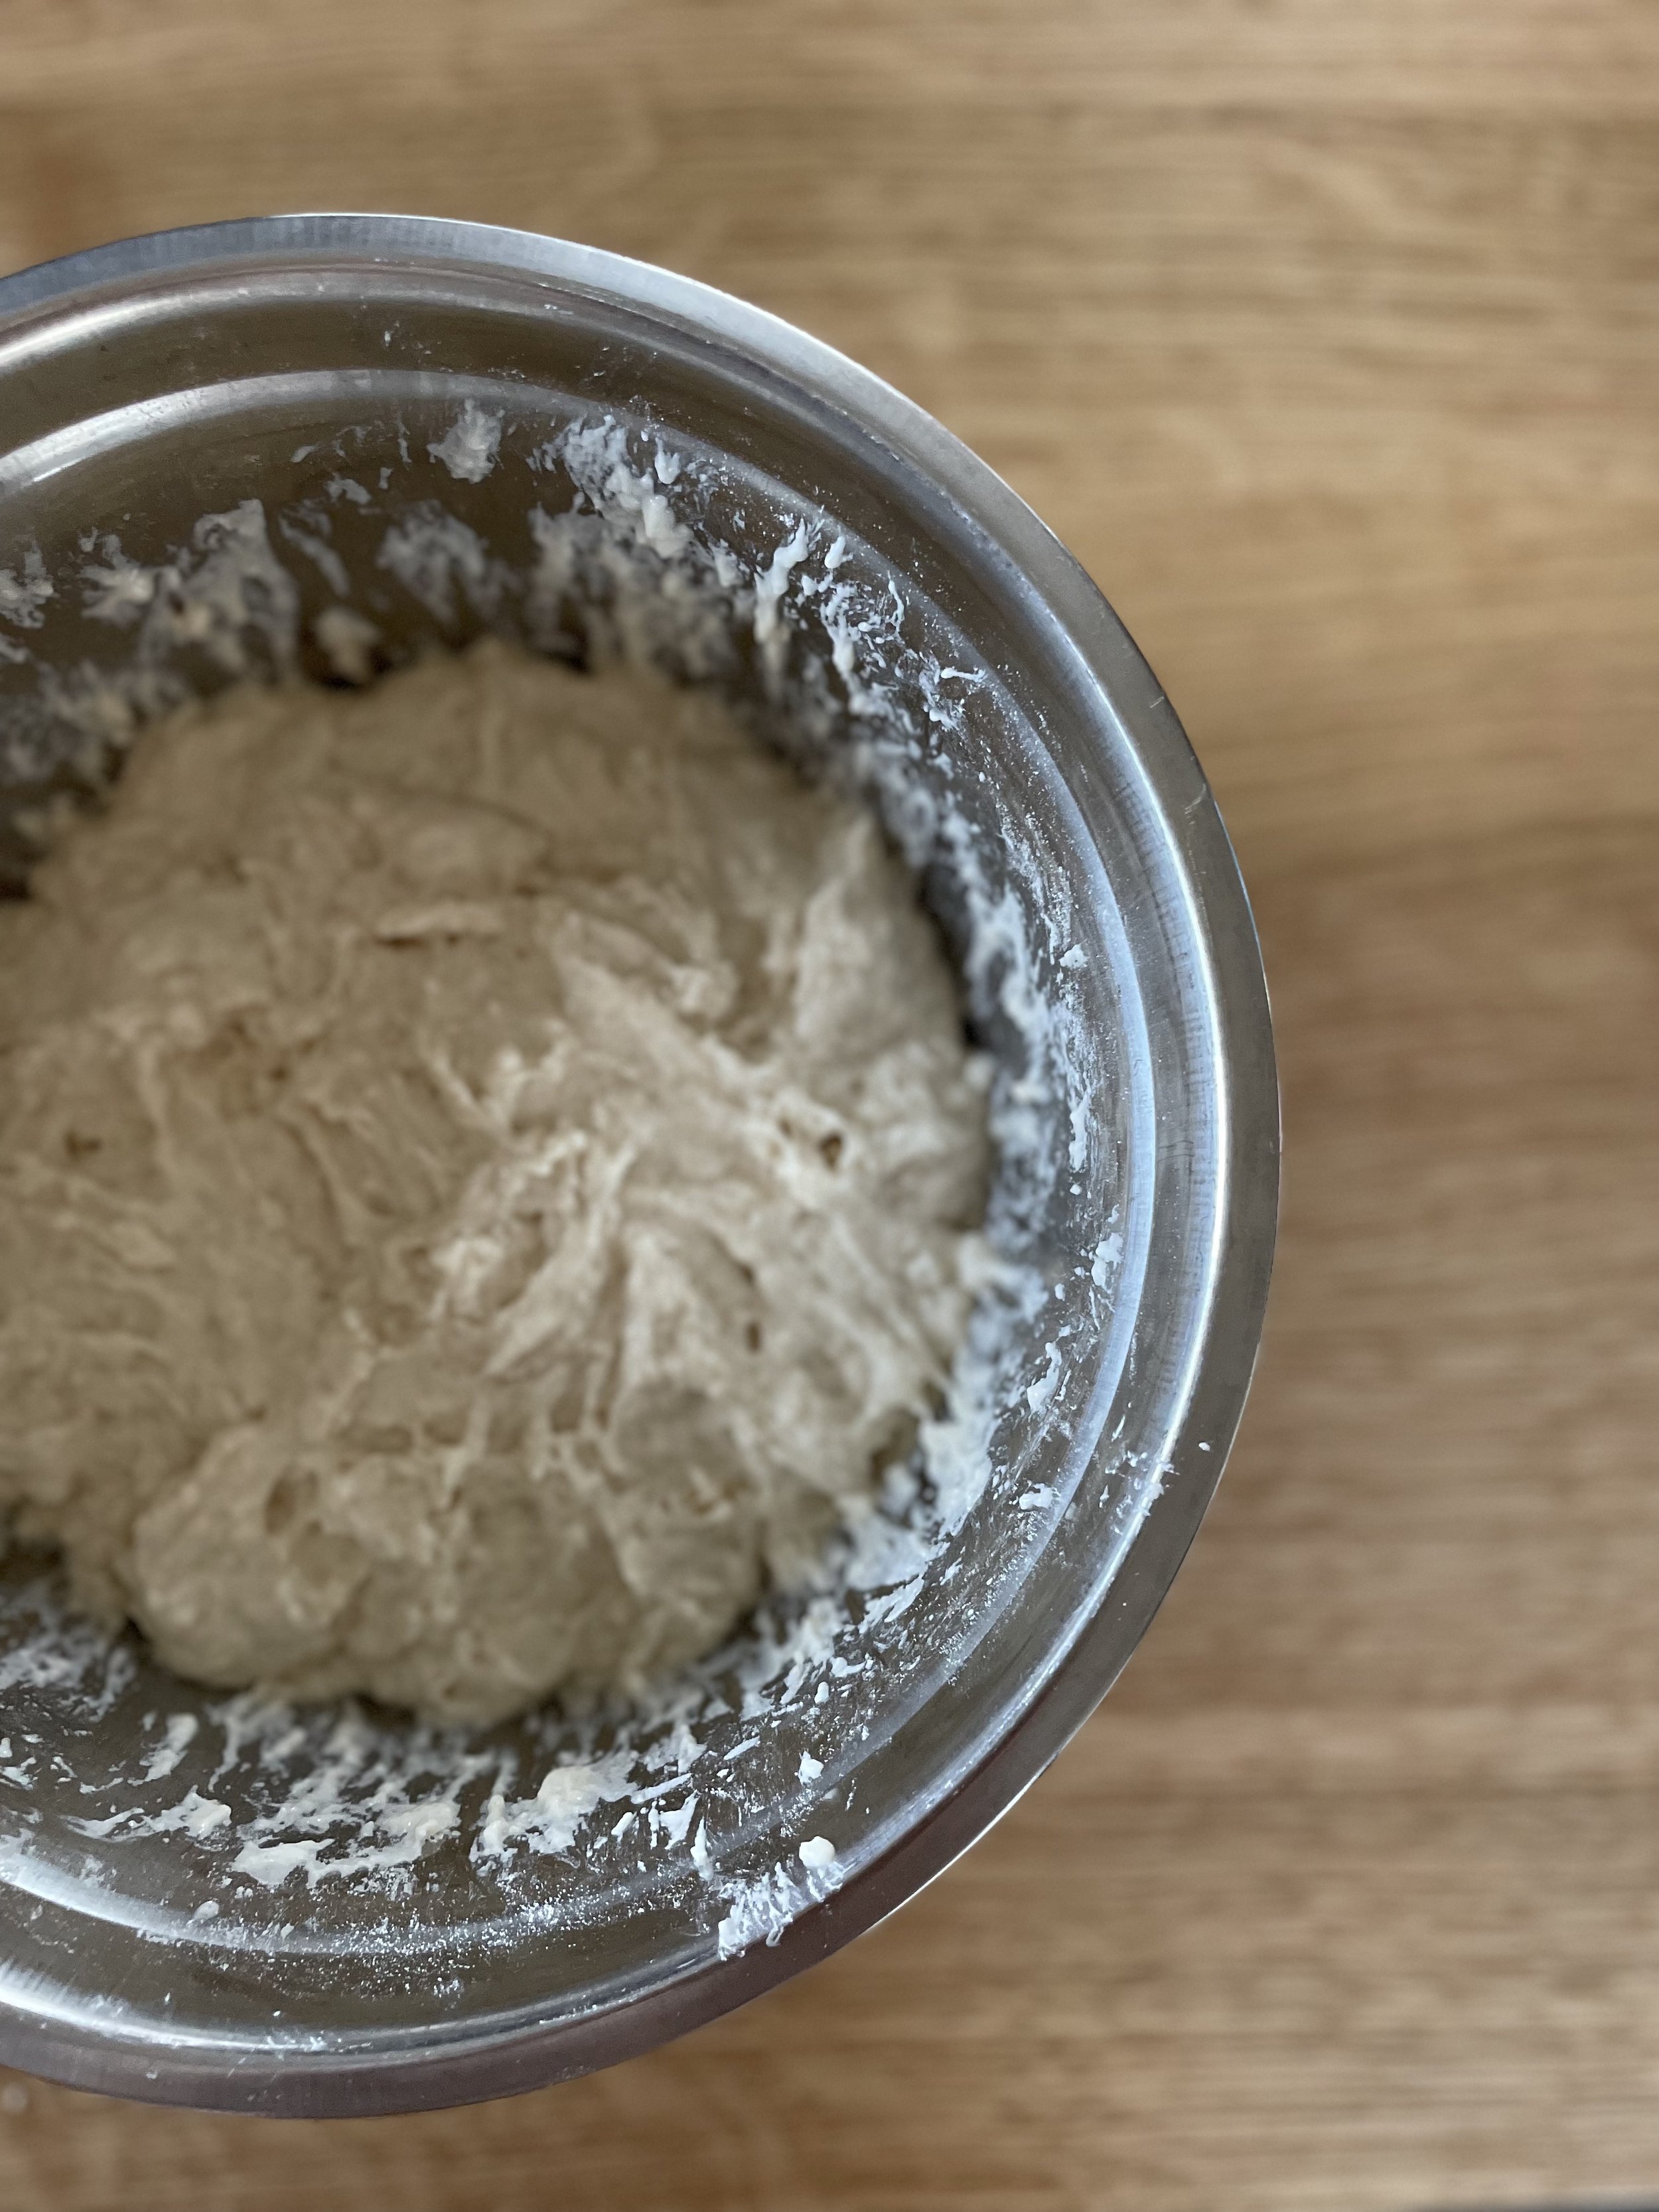
Mix ingredients together with a rubber spatula then switch to a wet hand to evenly distribute all the ingredients
Stage 3
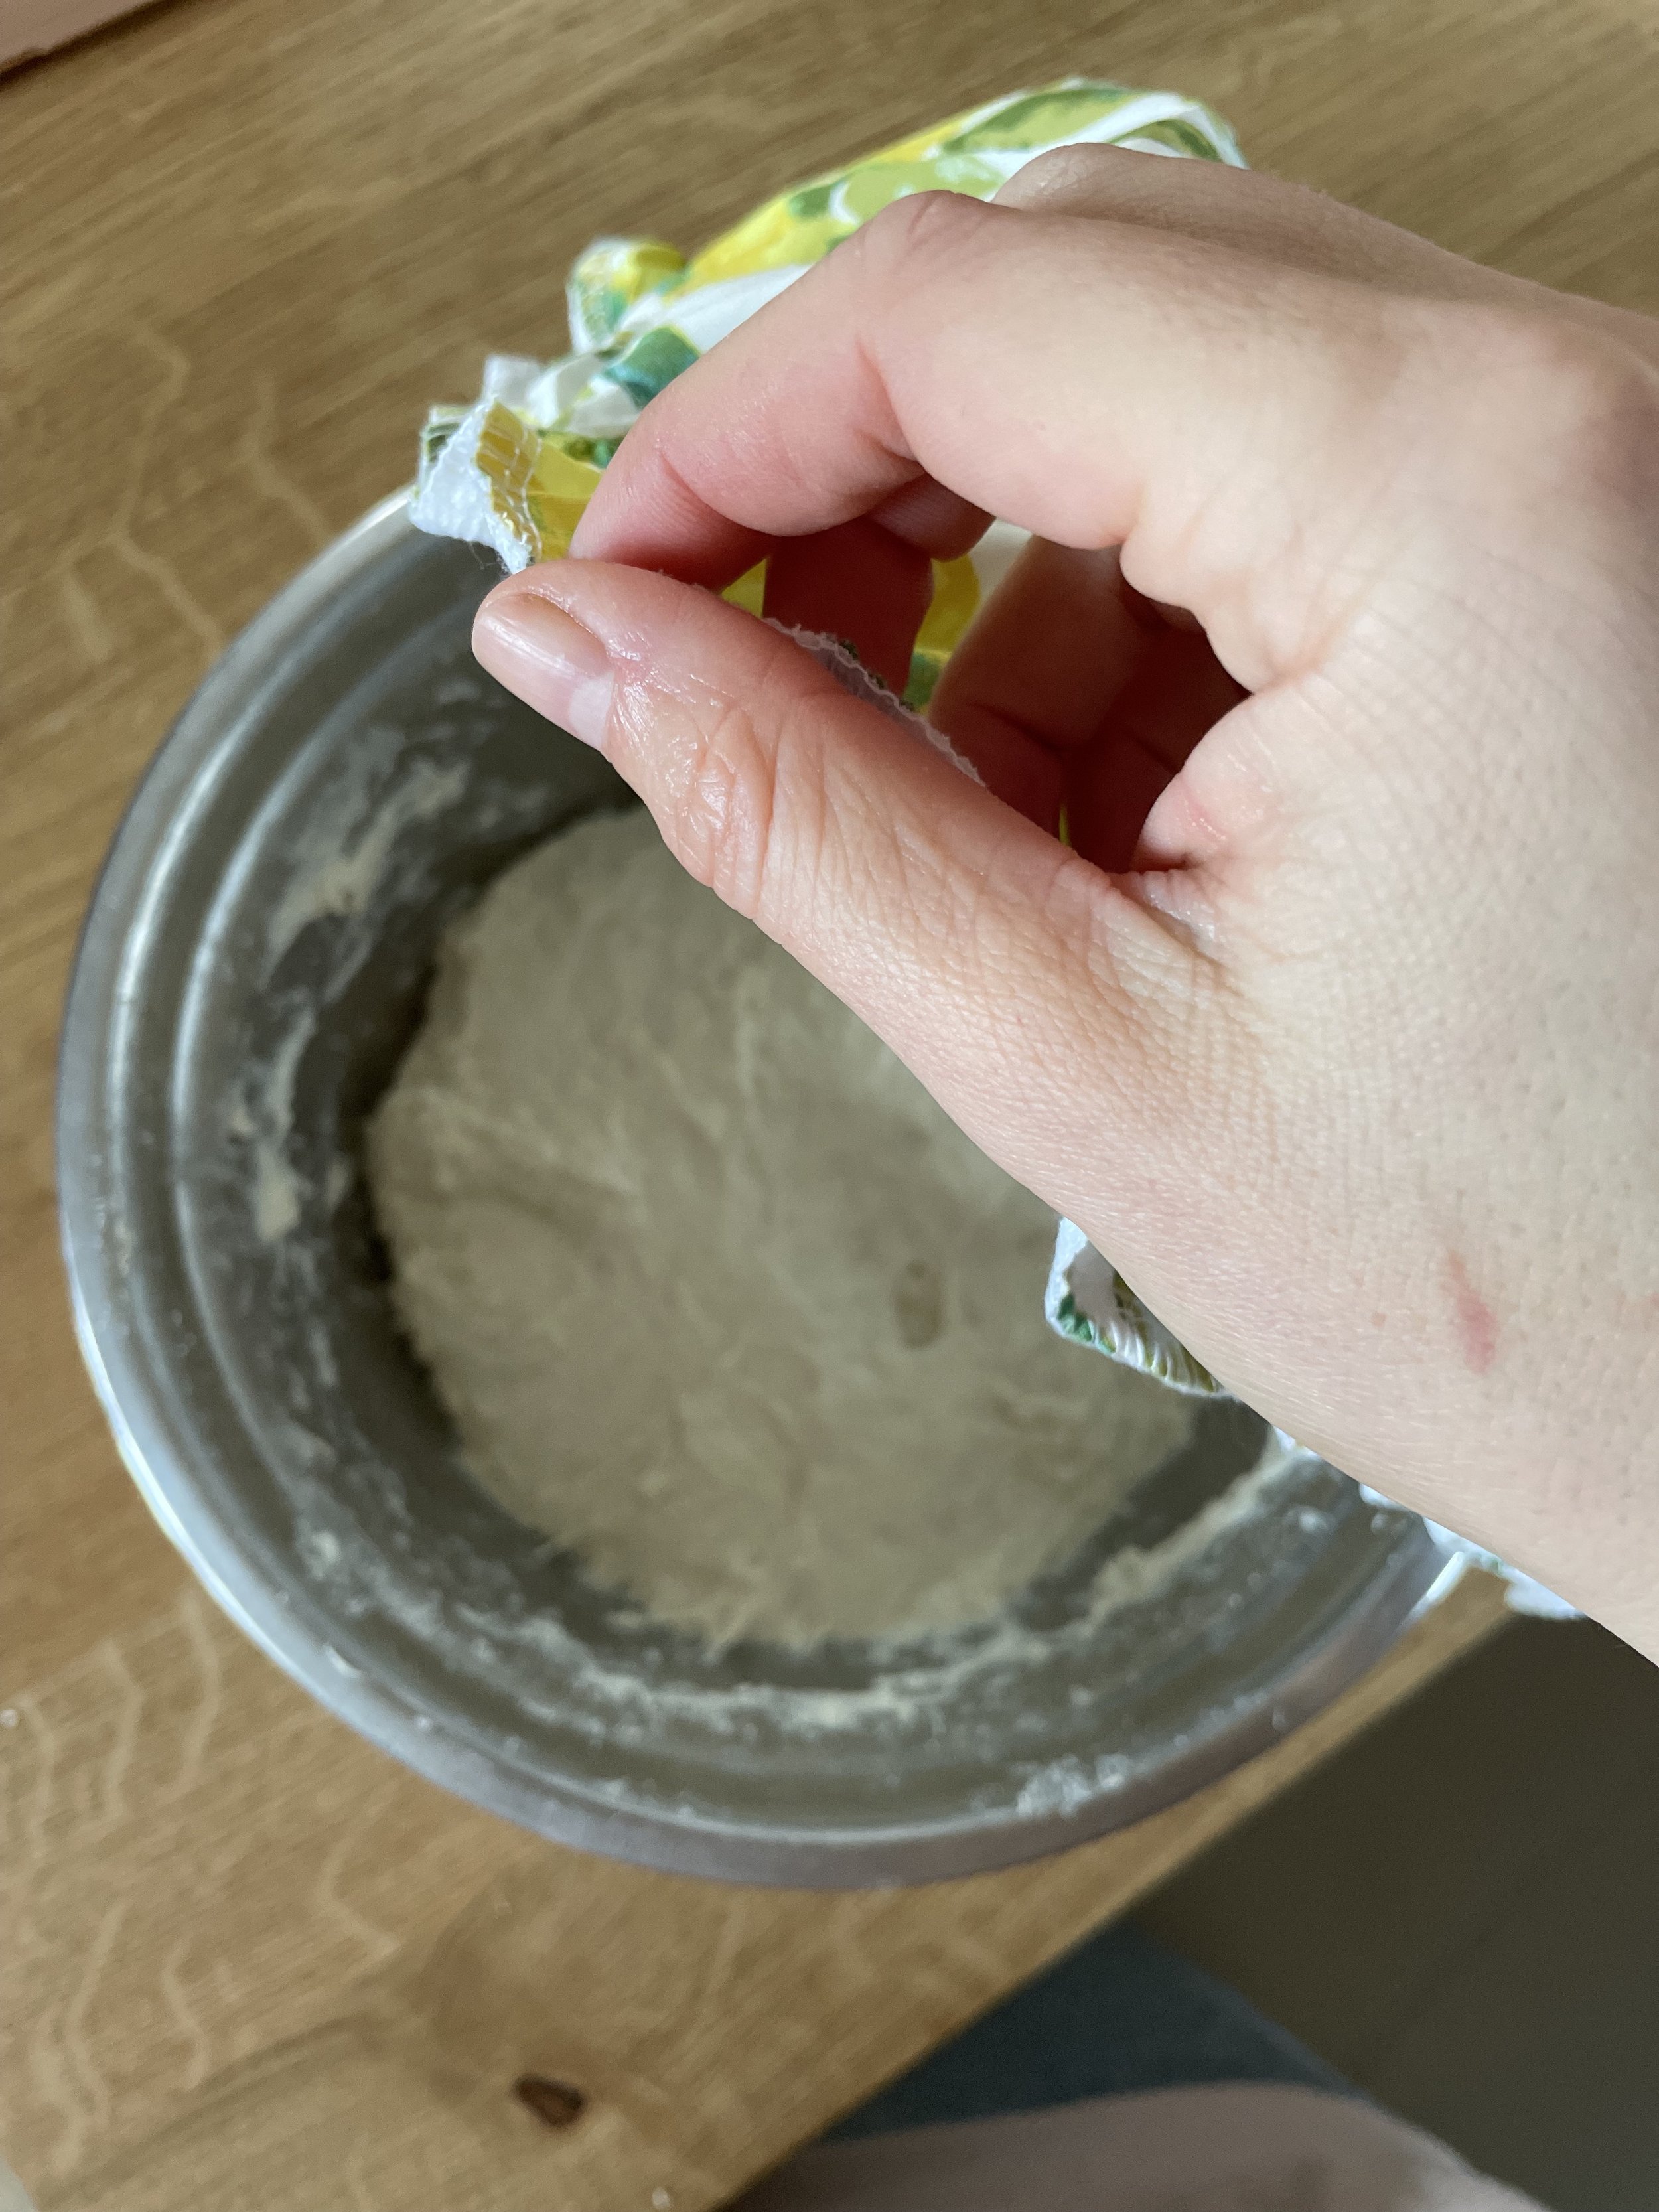
Cover bowl with a cloth food covering to start bulk fermentation process
Keep in a warm place (like oven with the light on)
after 30 minutes
stretch top as far up as possible then fold over
pull out sides as far as possible then fold over one another
repeat with bottom
fold 4 corners into middle
grip, fold and round dough into a ball
set timer for another 30 minutes

after 30 minutes
repeat same steps above
set timer for 2 hours
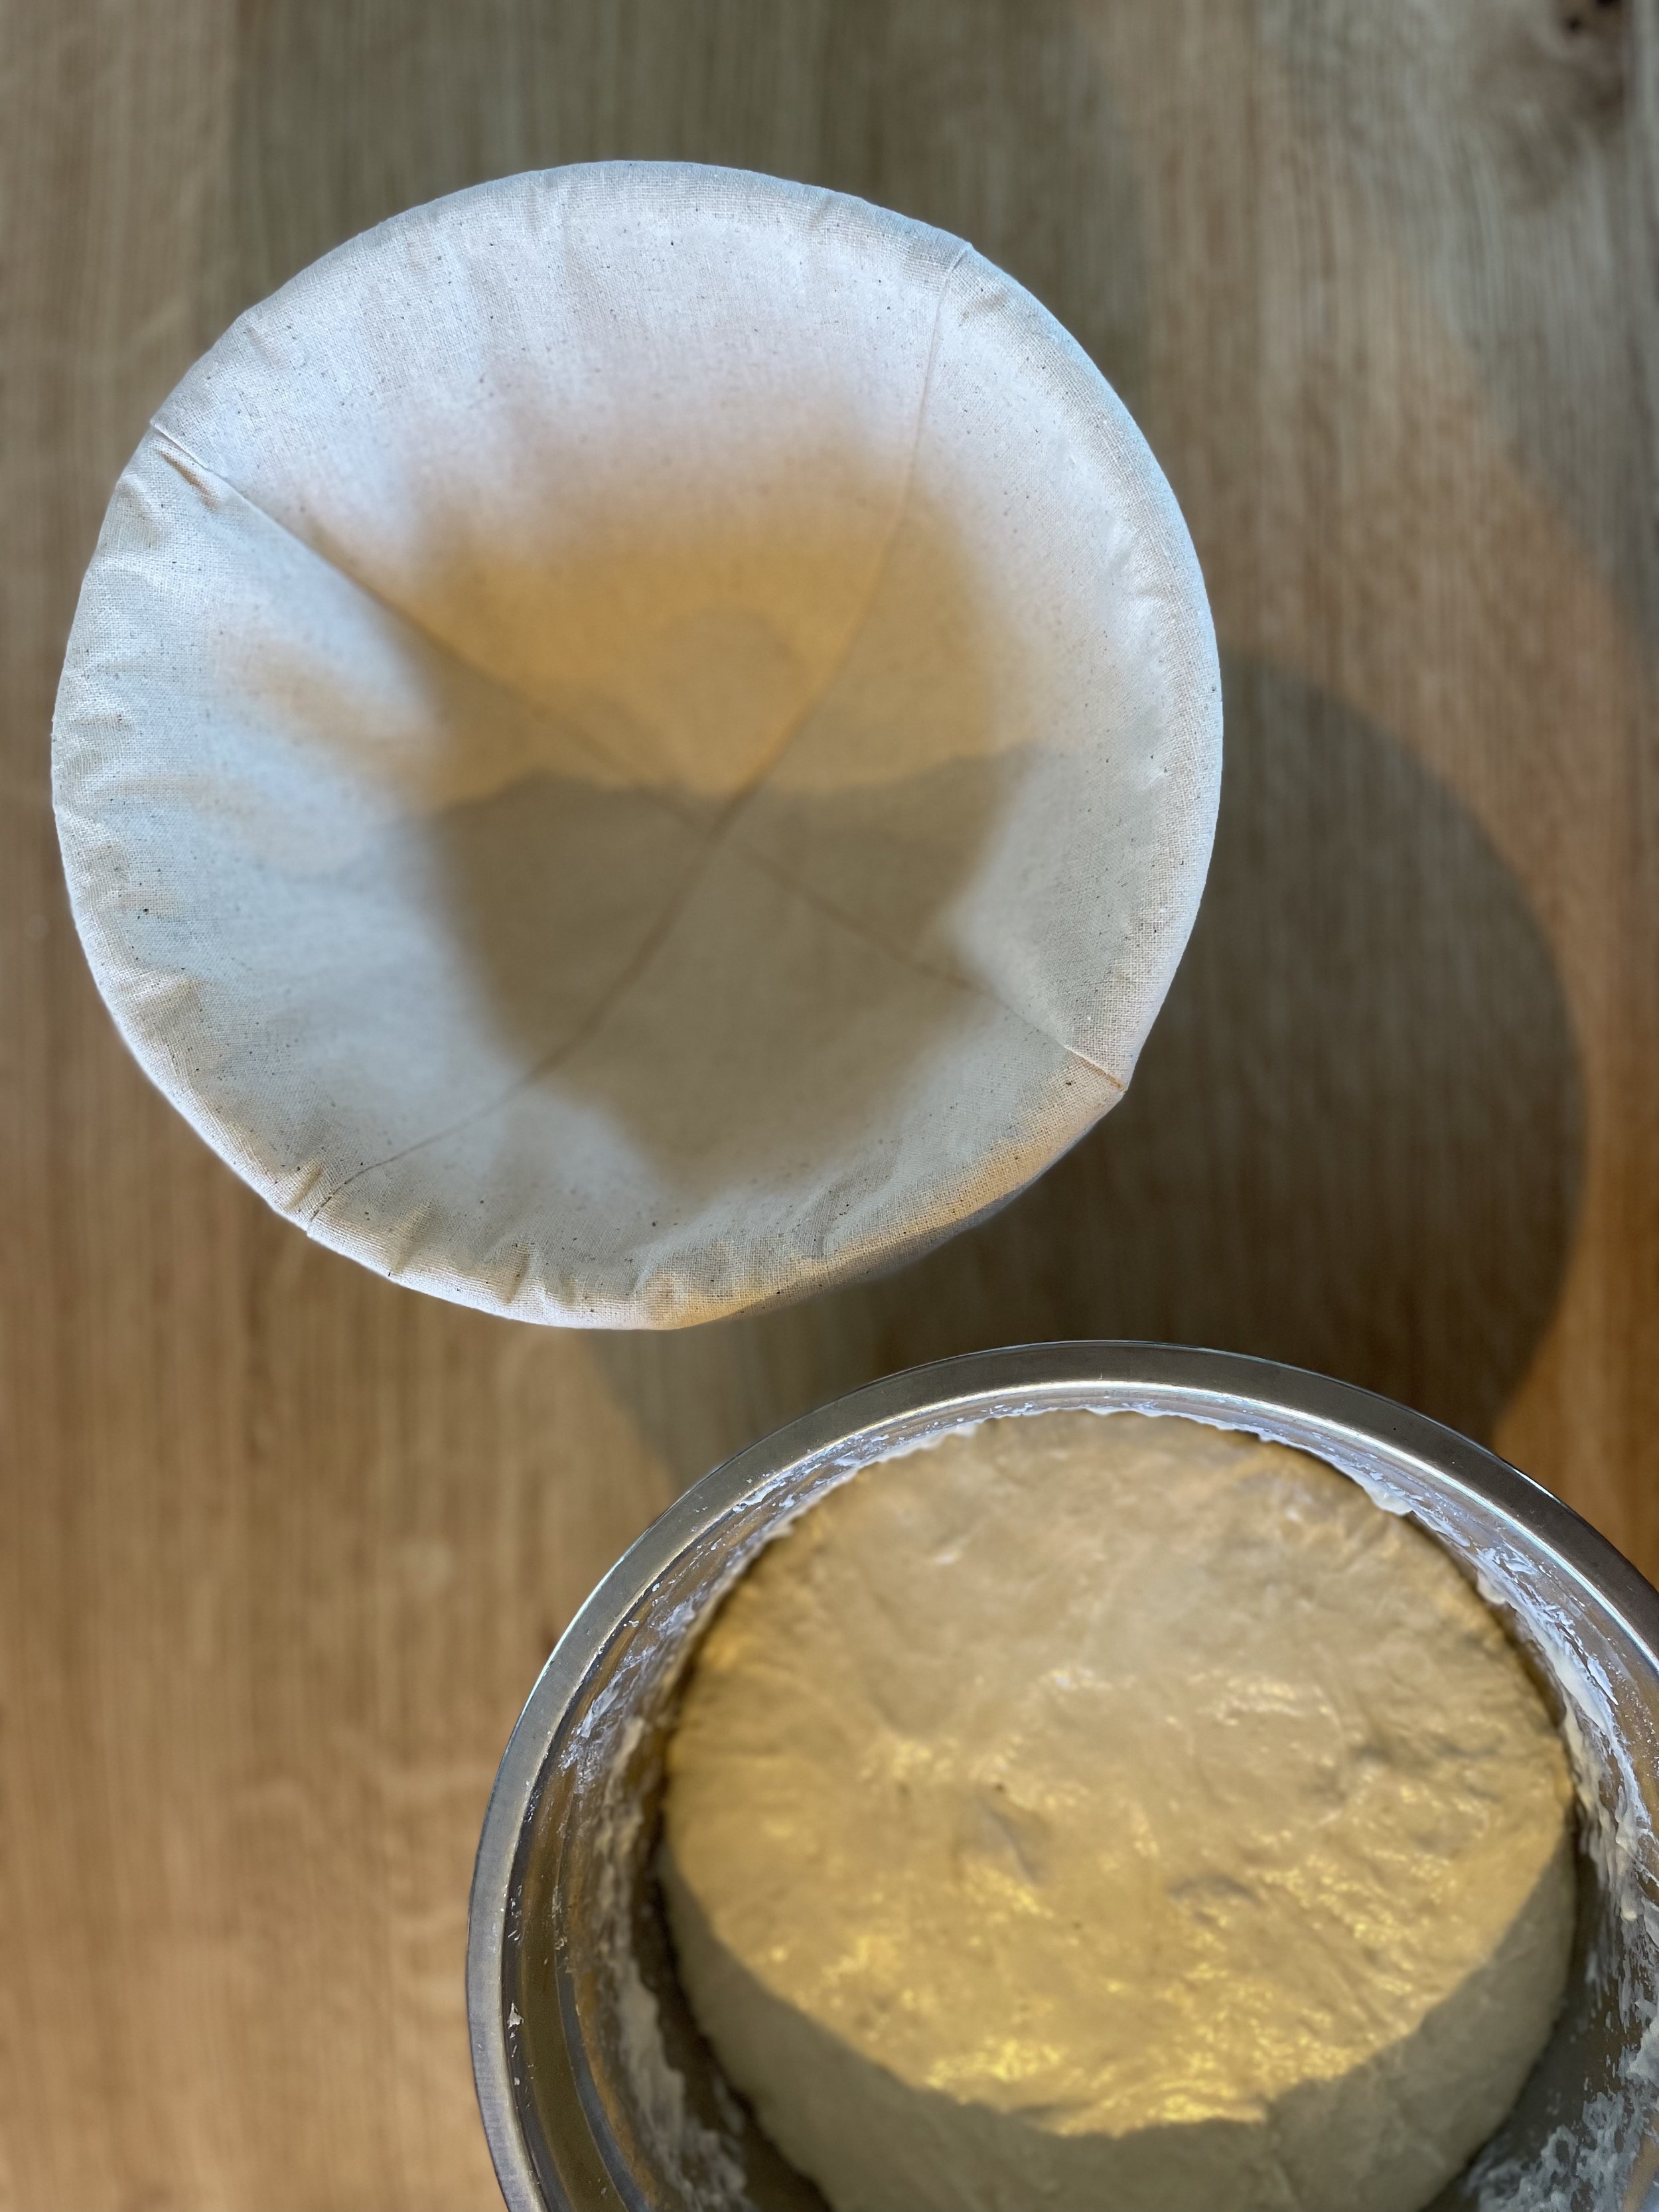
after 2 hours find your proofing basket
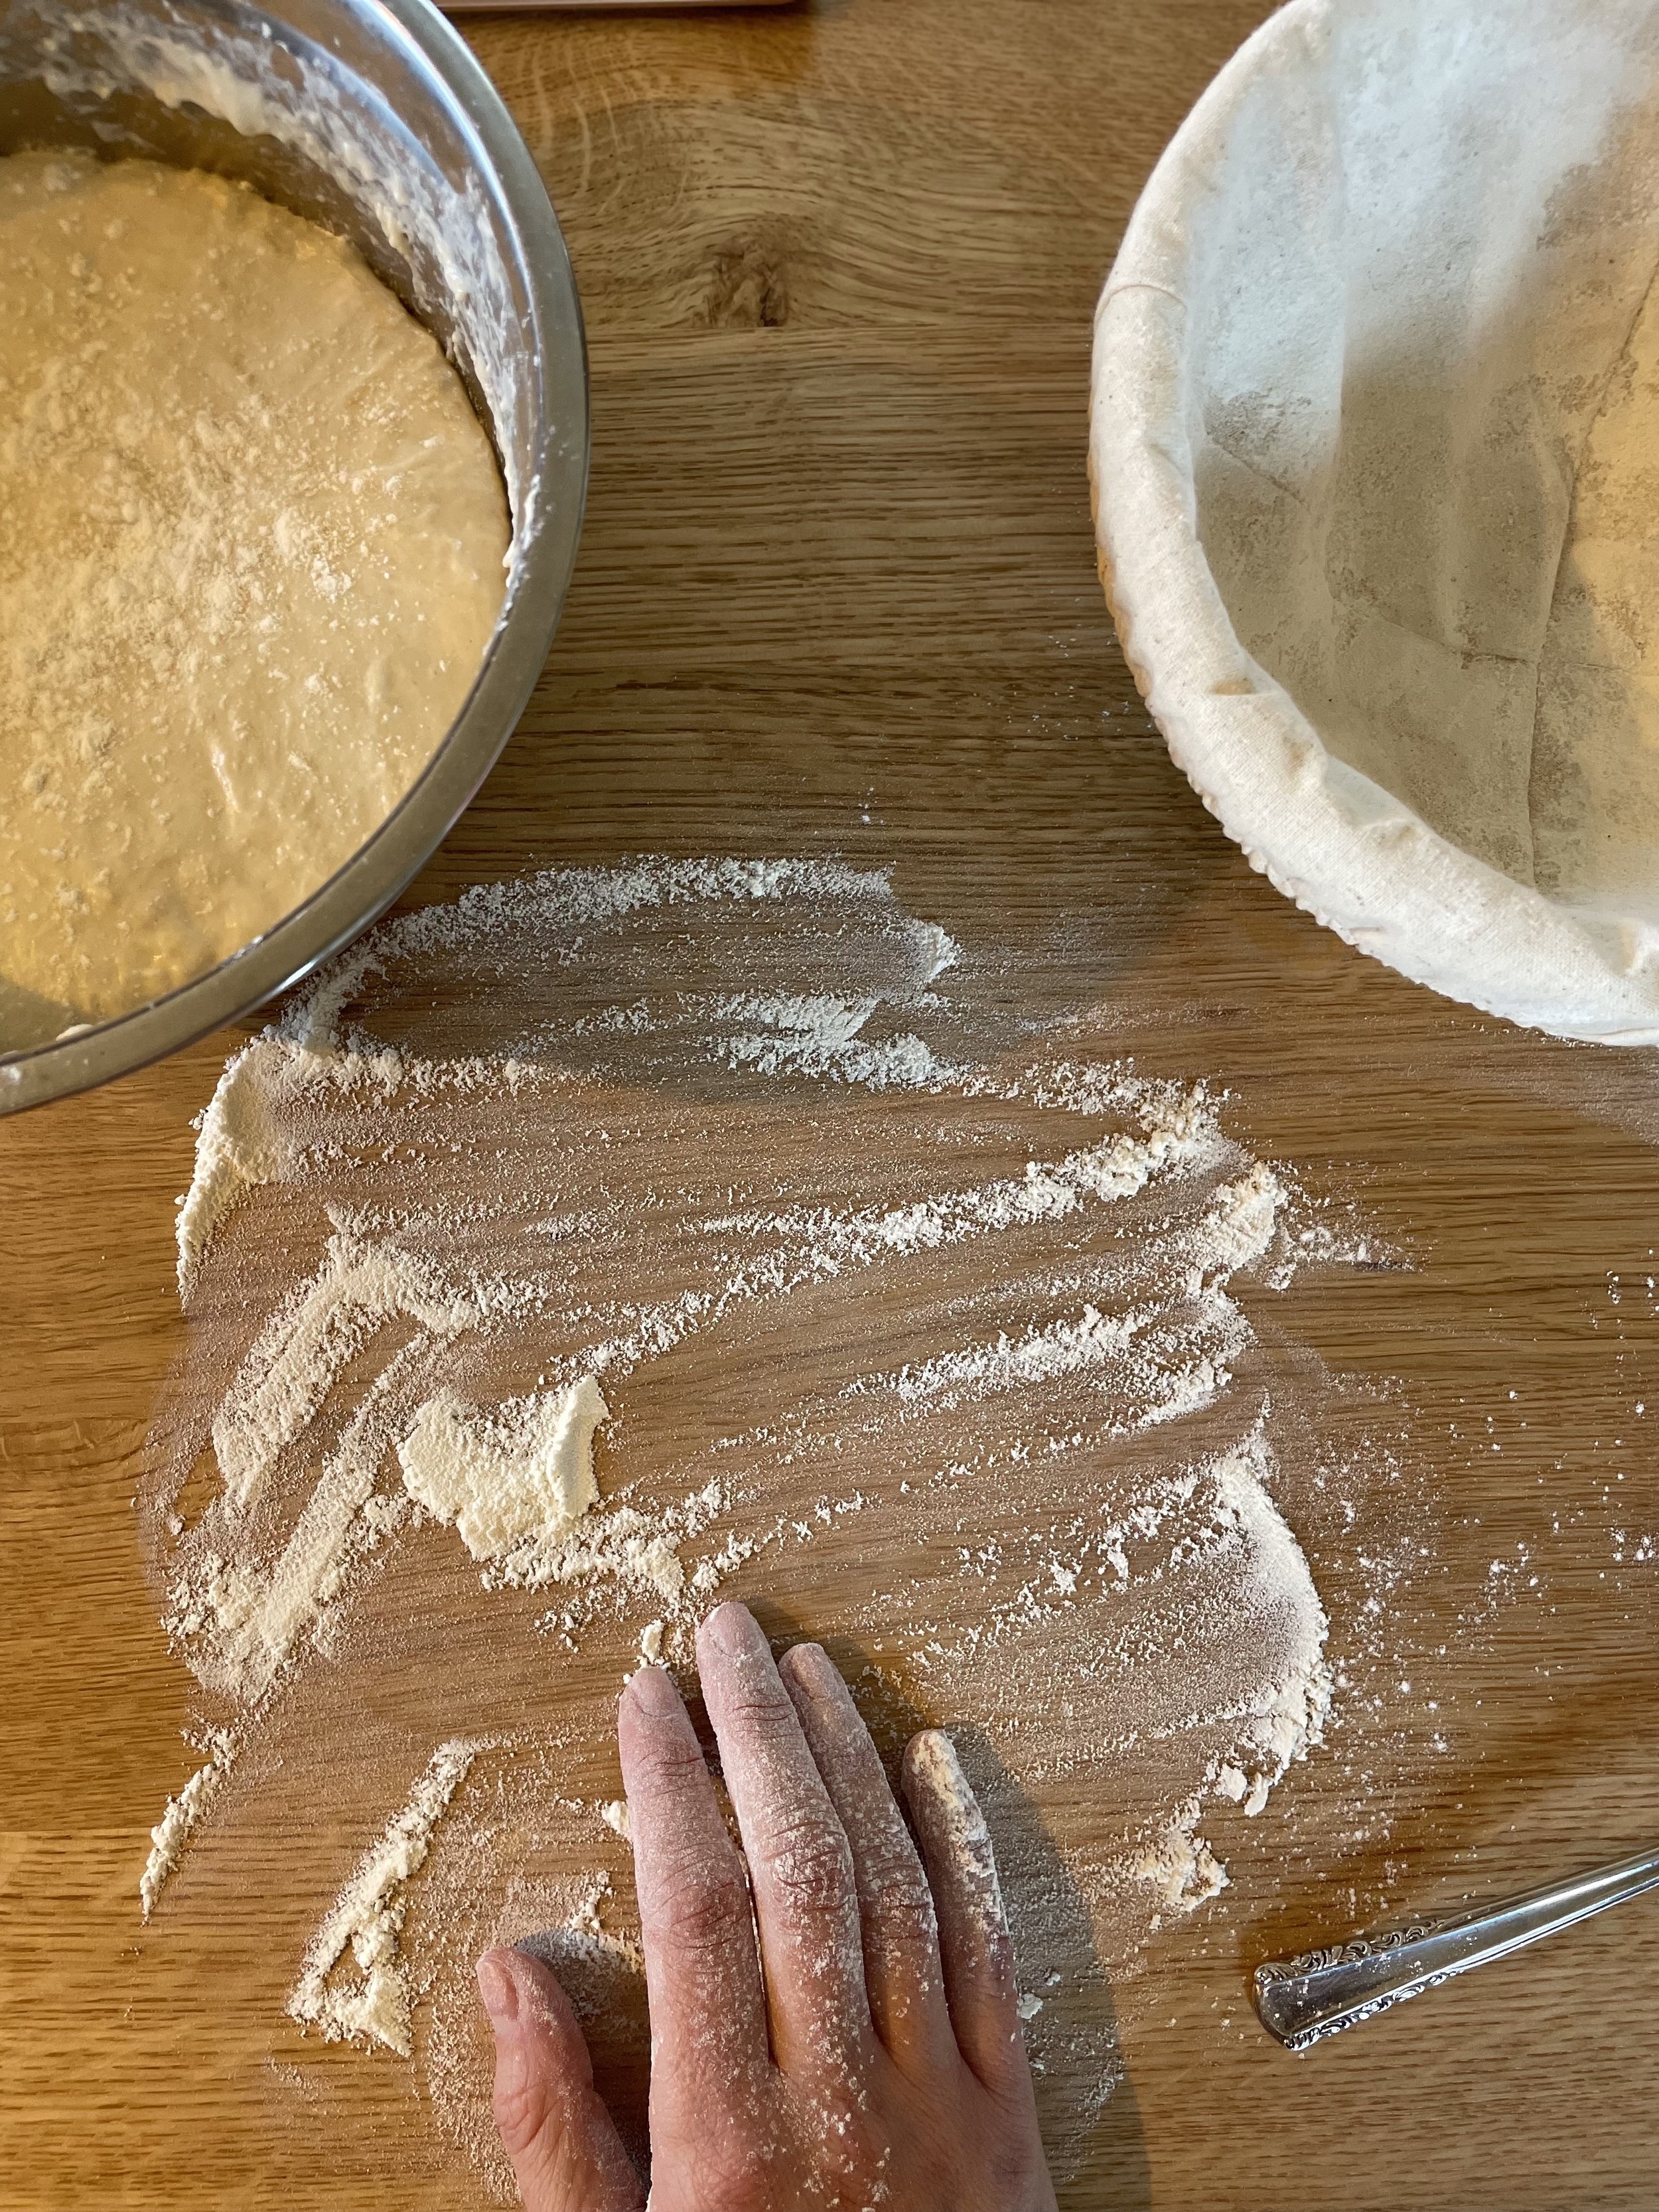
Proofing Stage
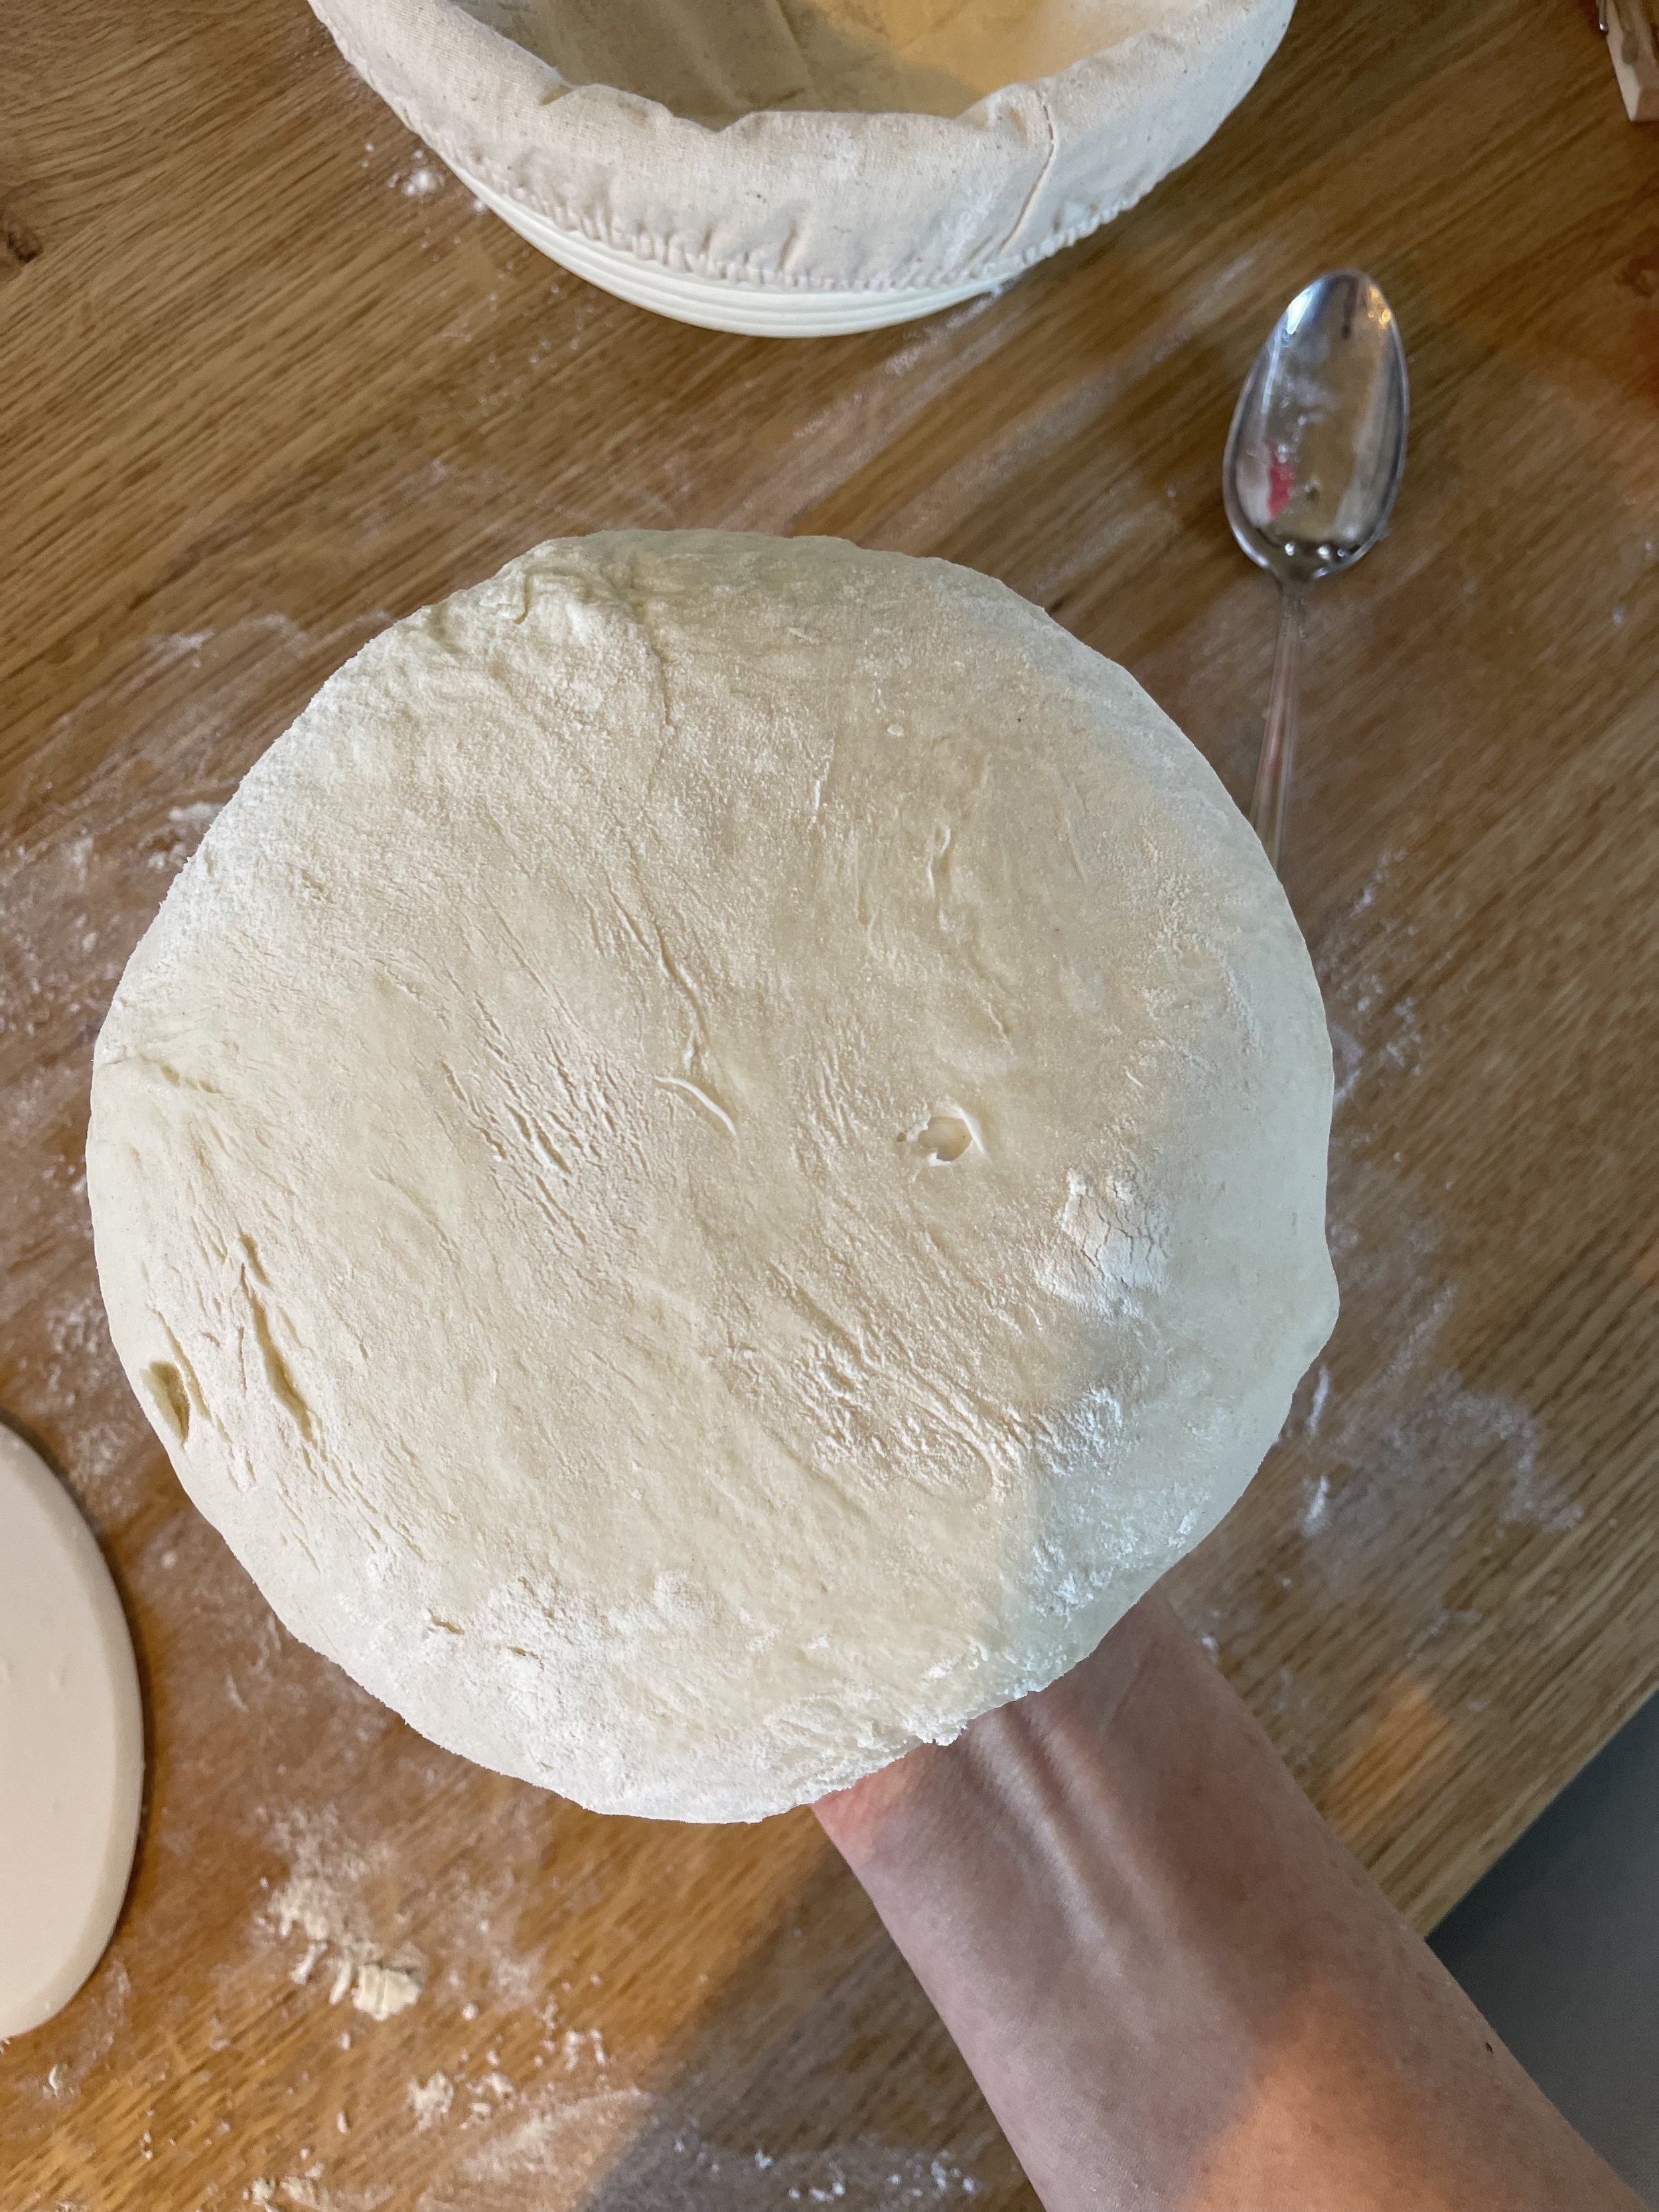
apply flour generously to work surface, proofing basket, and top of dough
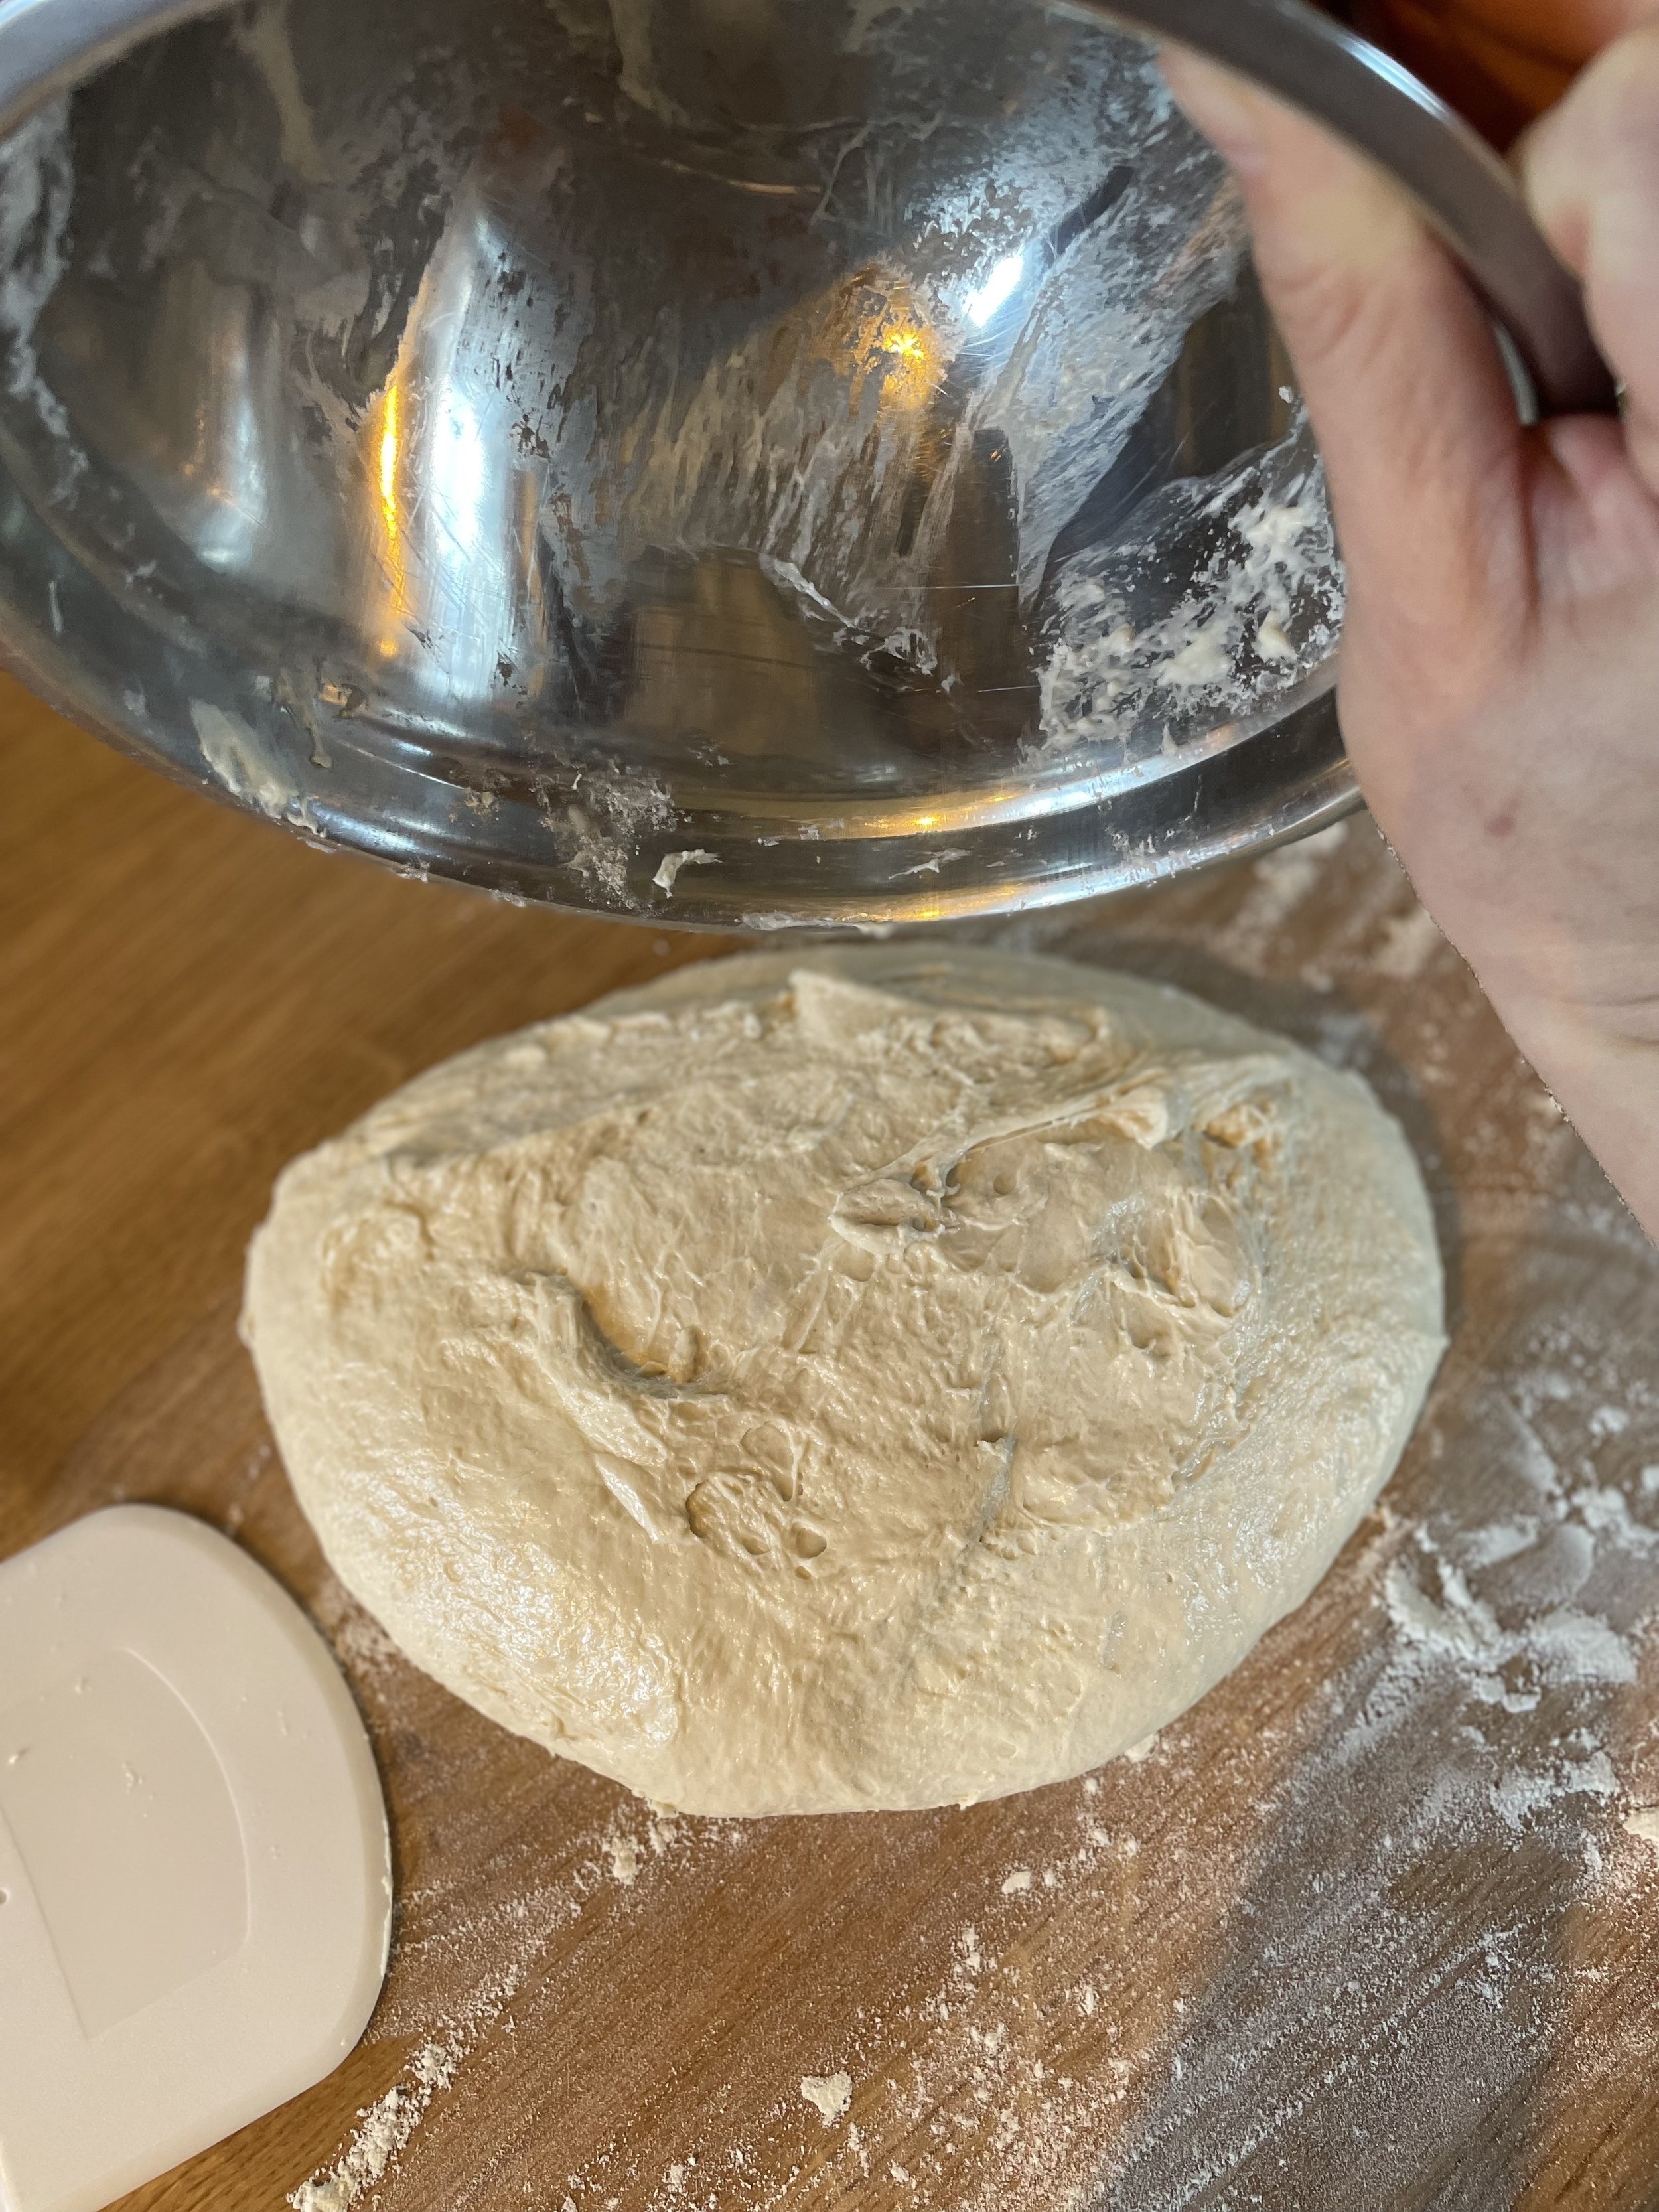
use scraper to remove the dough entirely from the bowl onto work surface
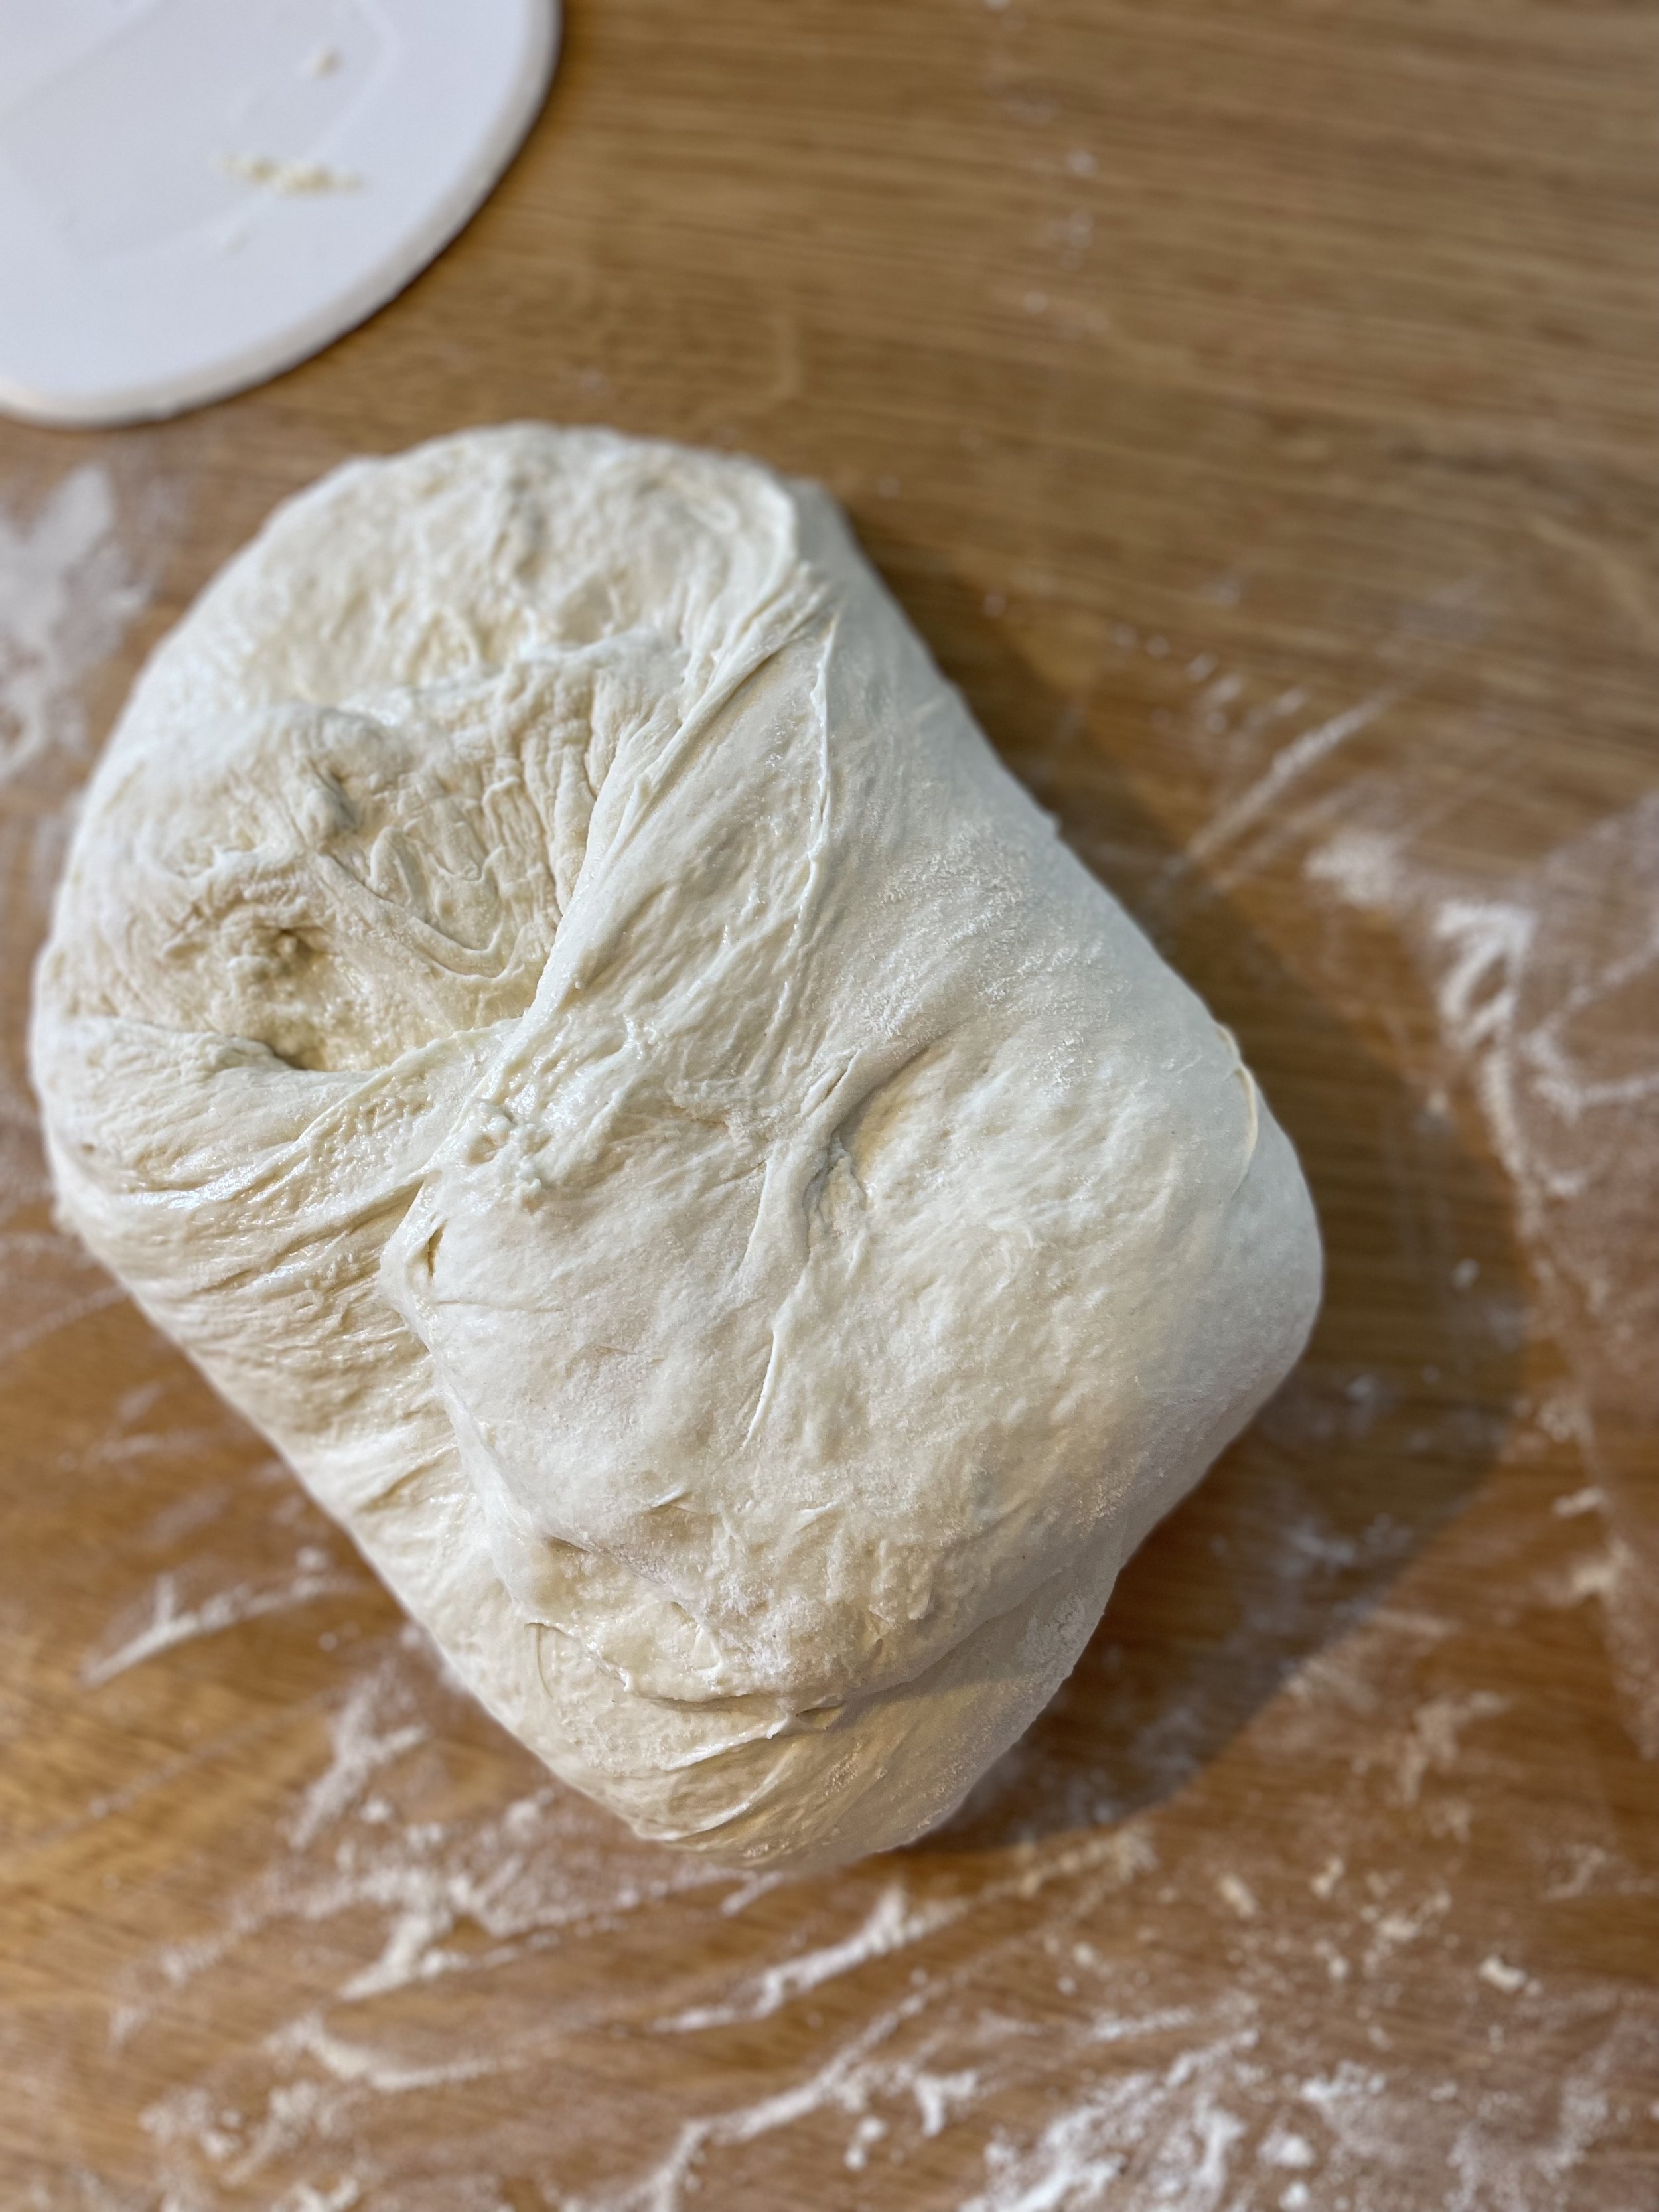
Shaping Stage
grab the bottom with floured fingers, stretch it all the way out and up to the top of the dough blob
press down lightly
grab sides and stretch 8-10 inches on both sides and wrap sides over left to right
grab the top and stretch it over to the bottom
fold in and tuck the corners until it is a tall ball shape
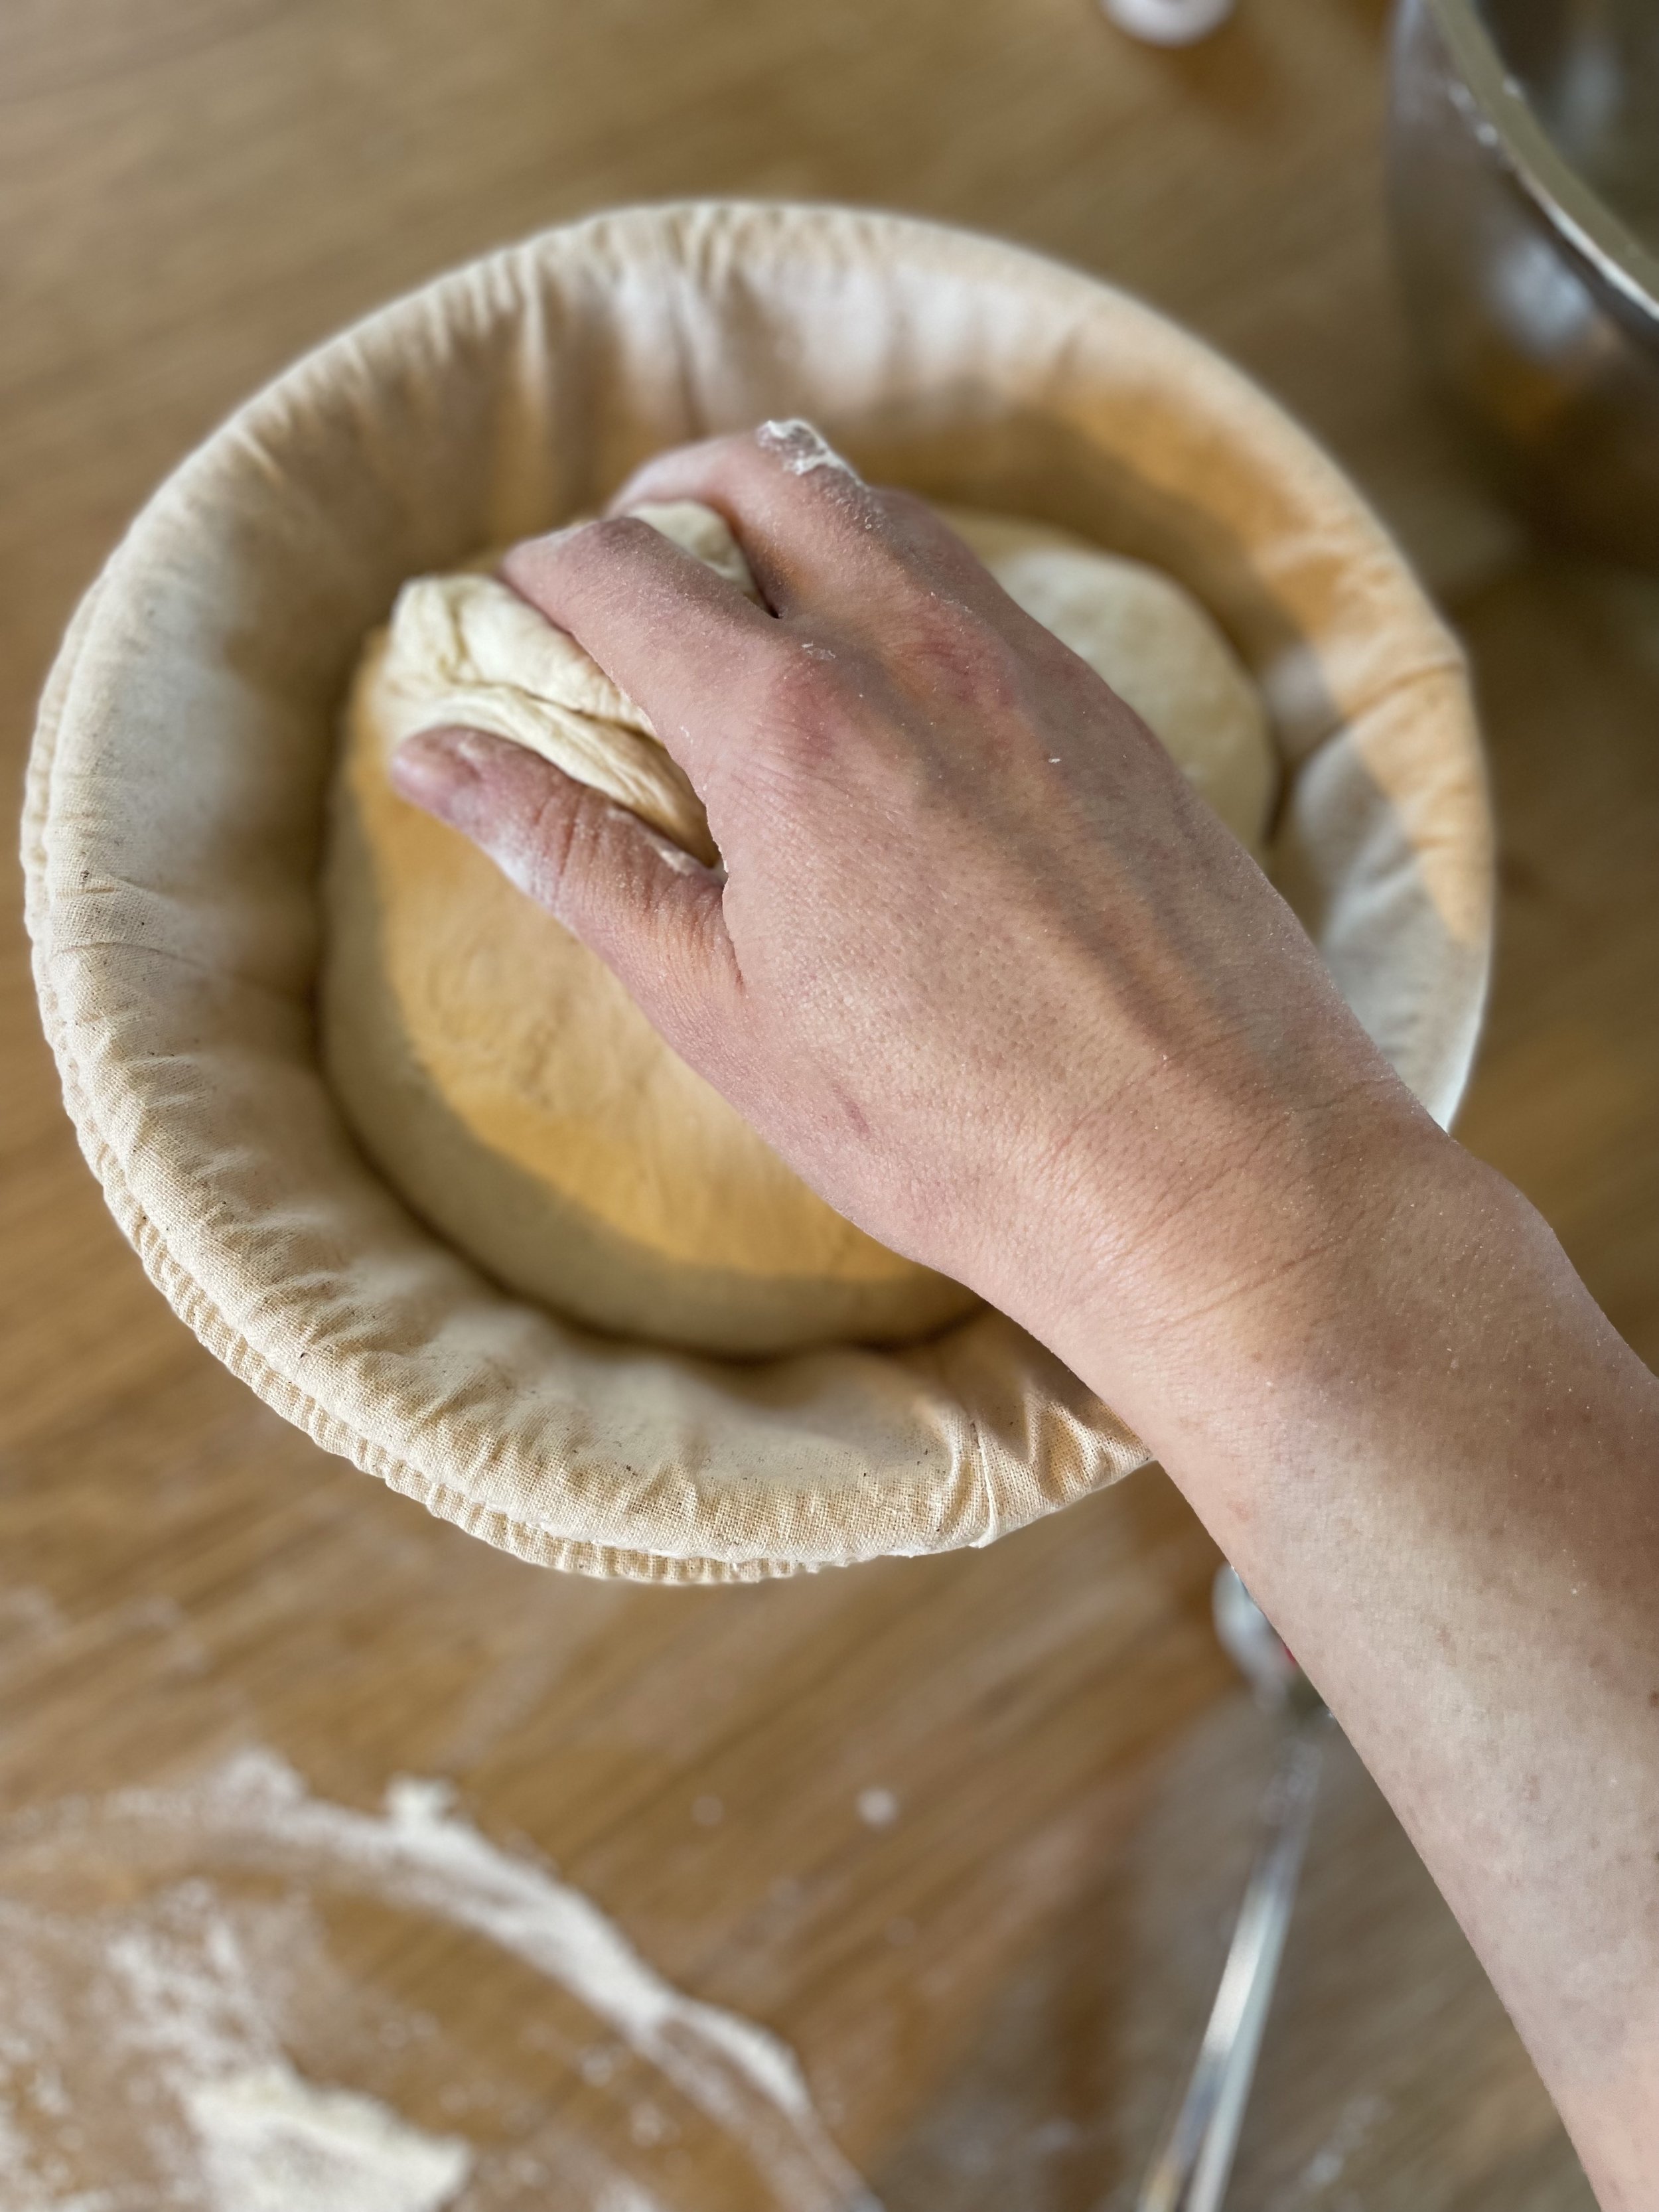
scoop the dough seam side down into the palm of your hand
grab the basket with your other hand and then plop it in, seam side up
fold the pieces of the seam into the center to keep it nice and tight
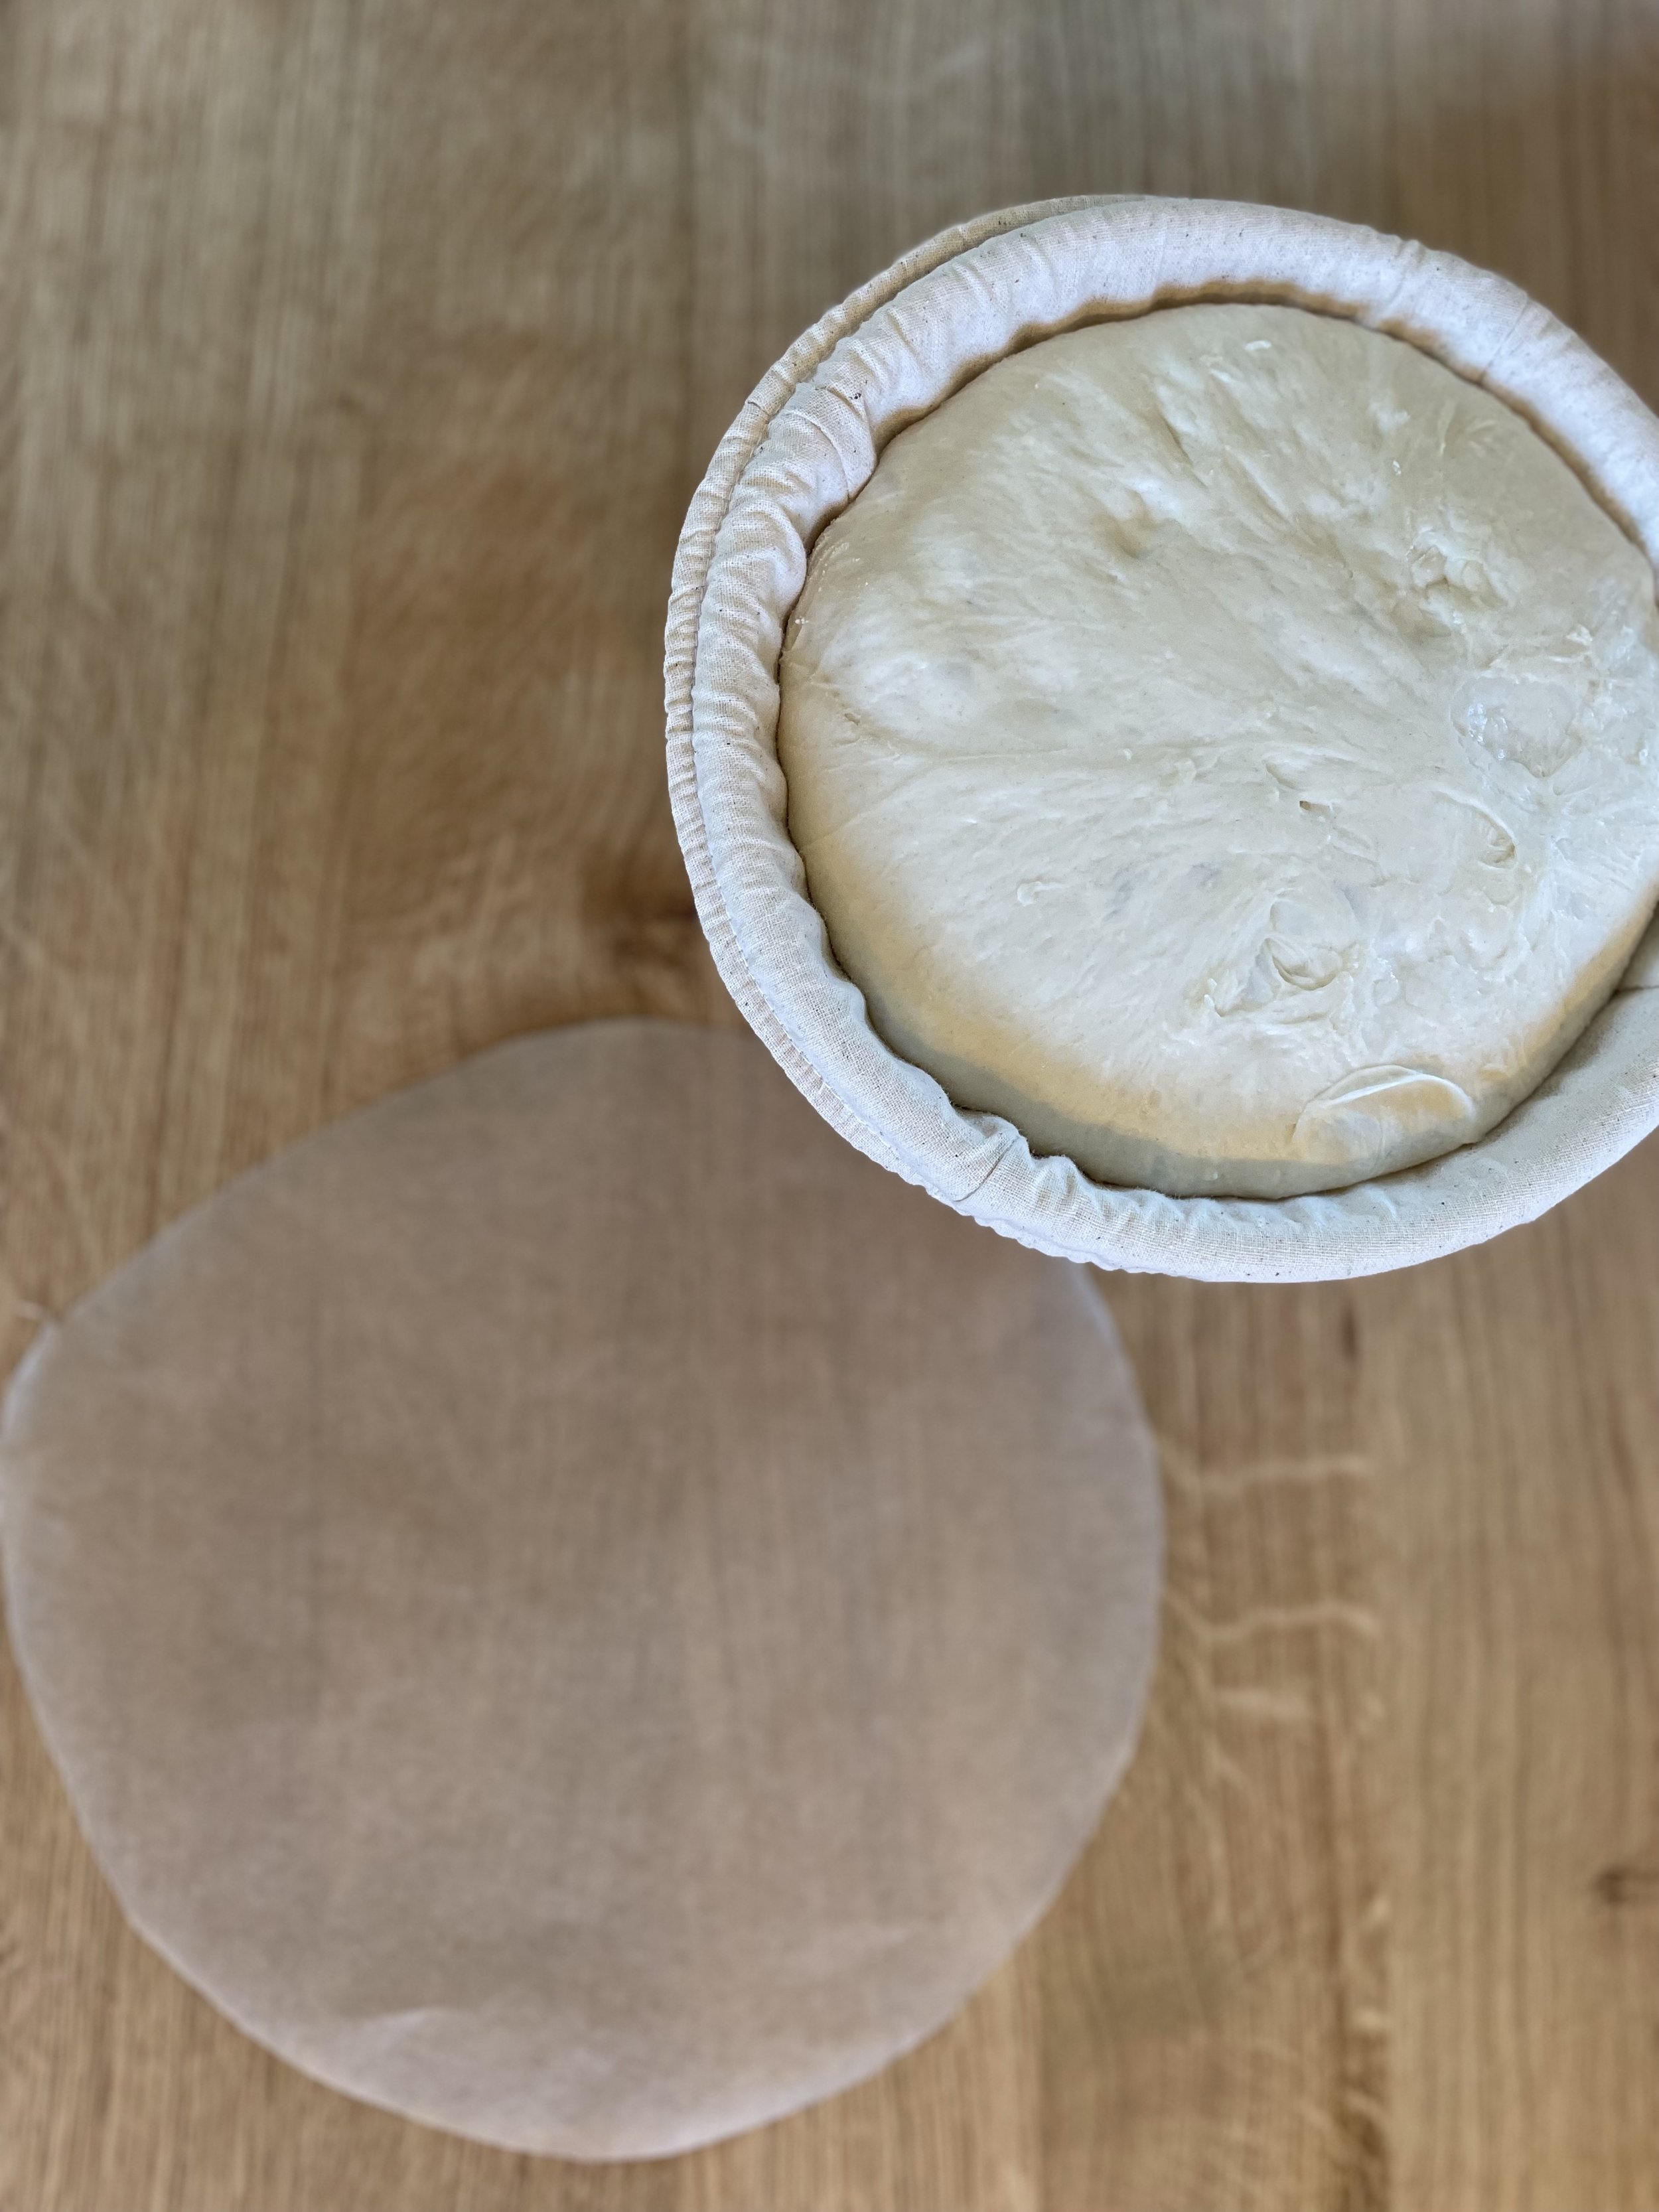
cover with a cloth covering and allow it to rise for 90 minutes

after 60 minutes
preheat oven to 500 degrees with dutch oven inside

after 90 minutes (or 30 more minutes)
do the poke test : lightly flour a knuckle then give the dough an assertive poke. The loaf should barely hold the poke then pop right back out. If it doesn't, wait little longer the try again.
Baking Stage
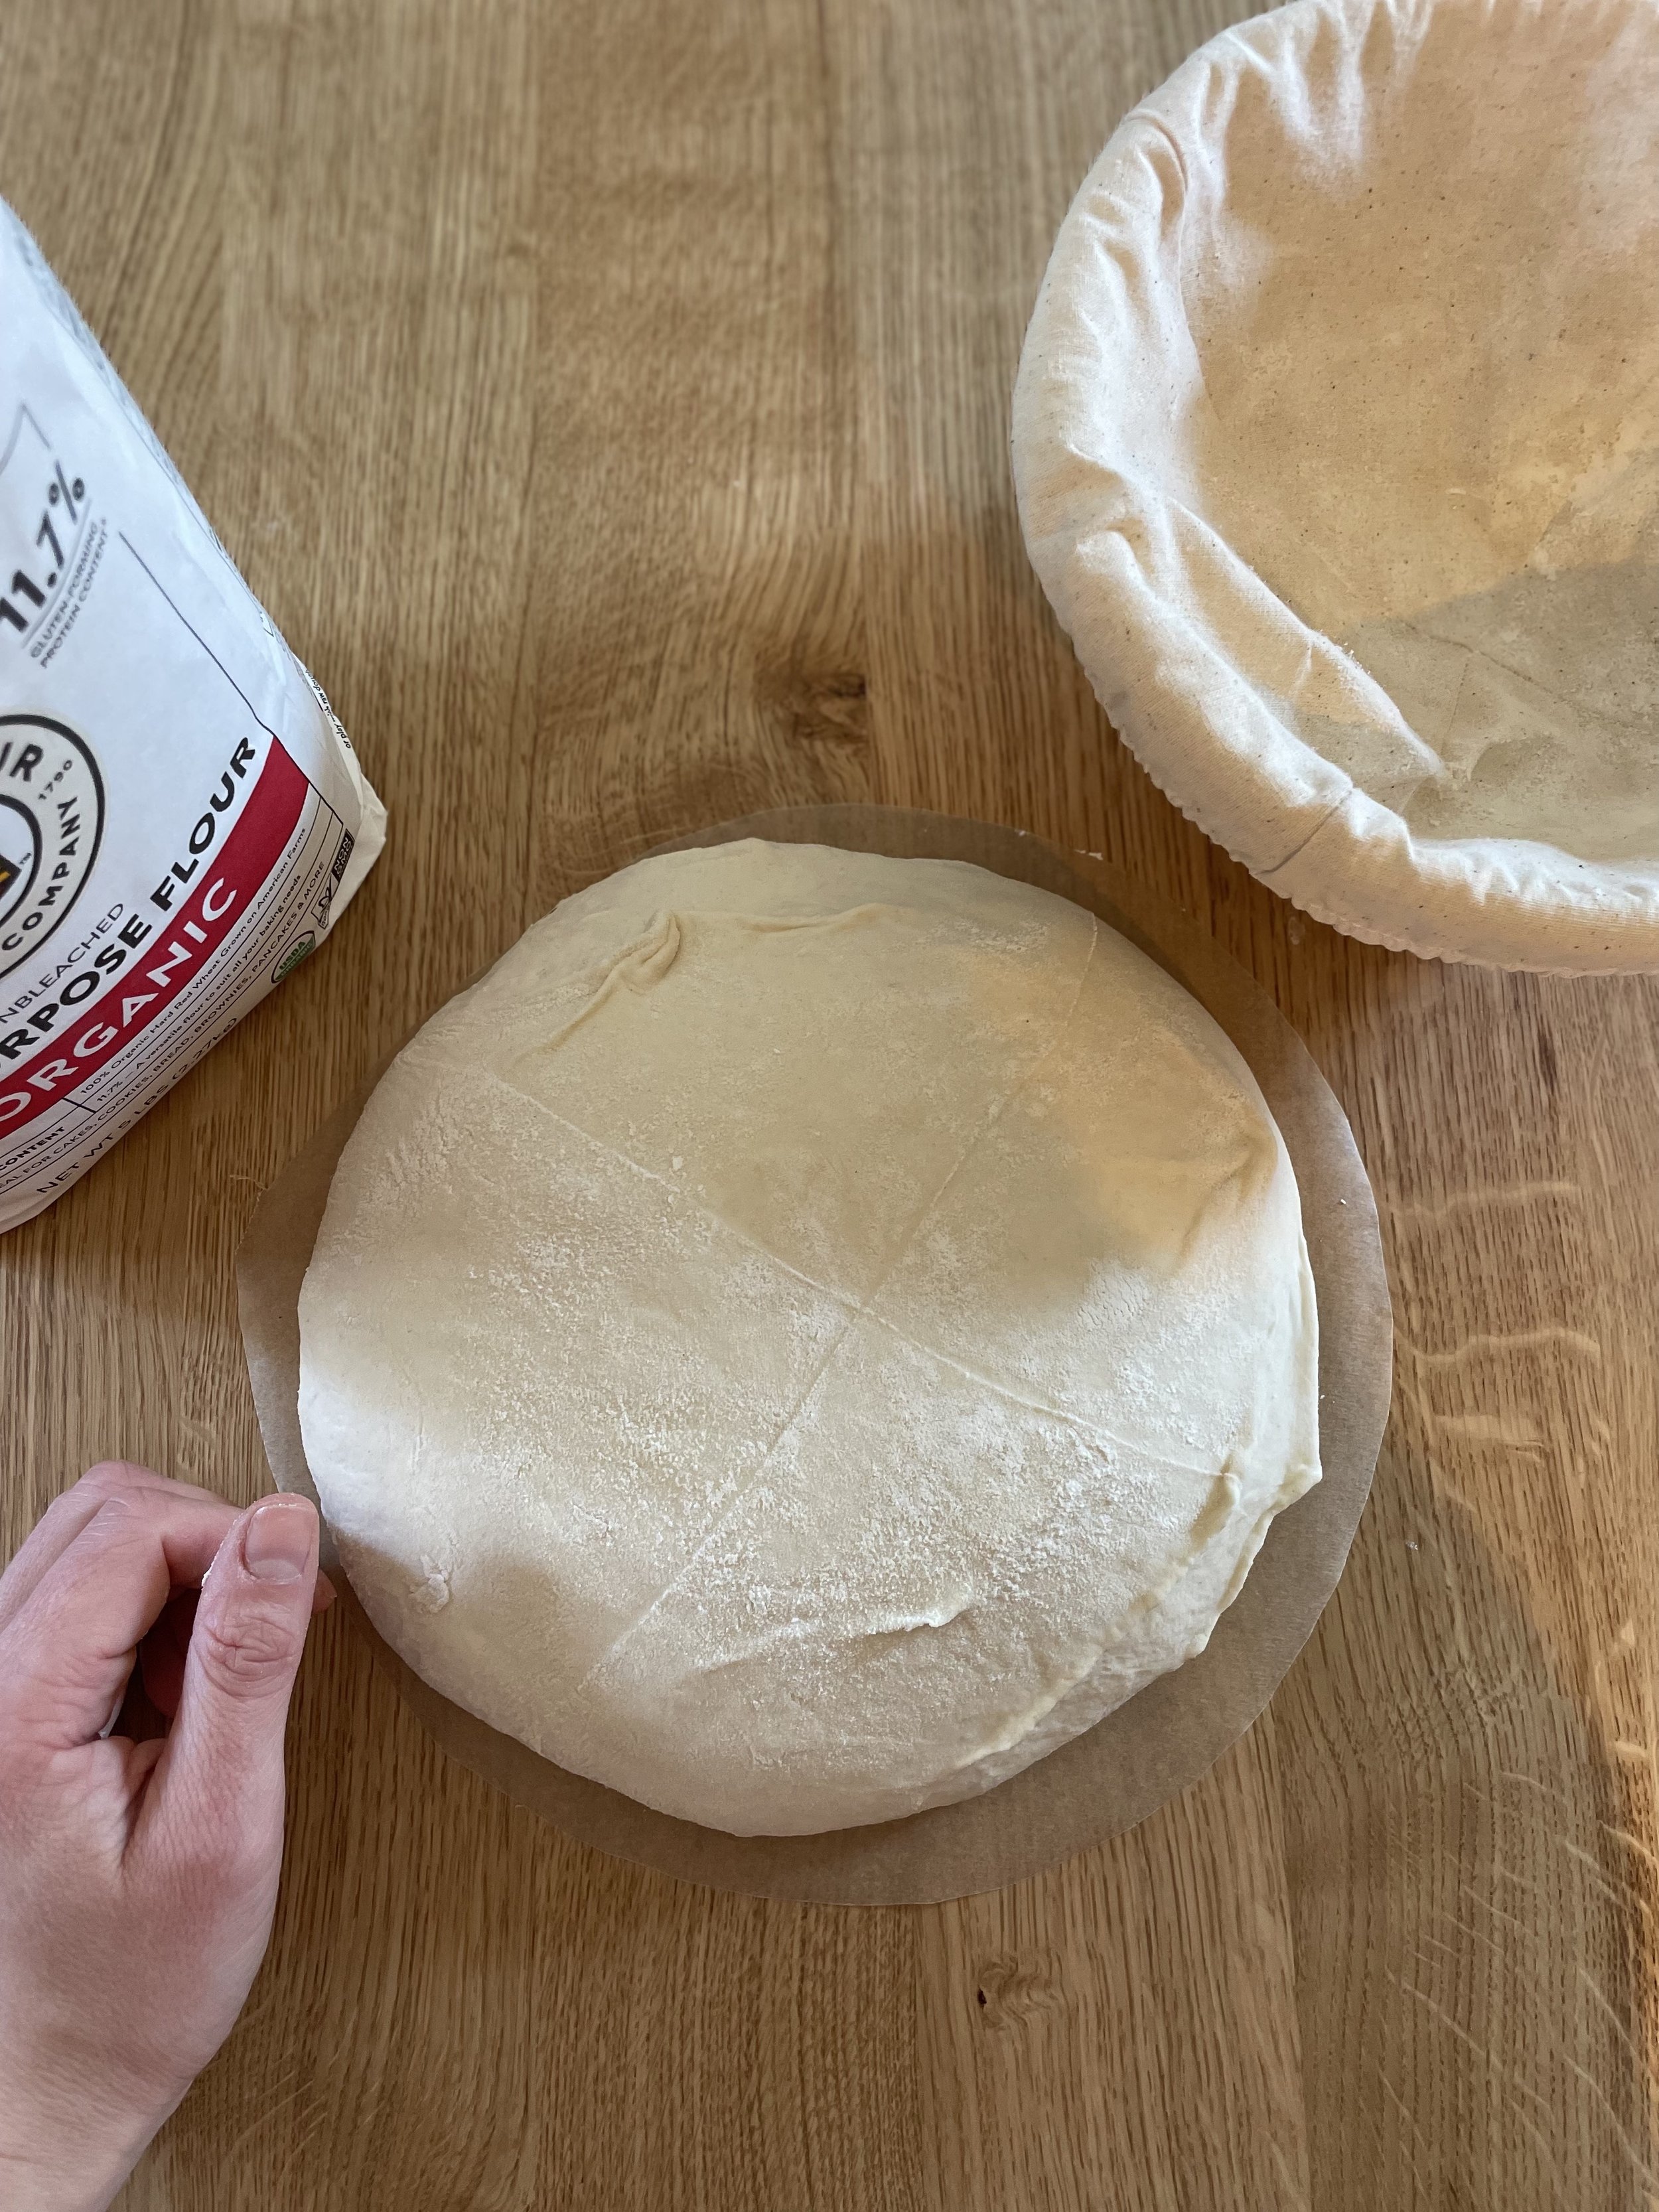
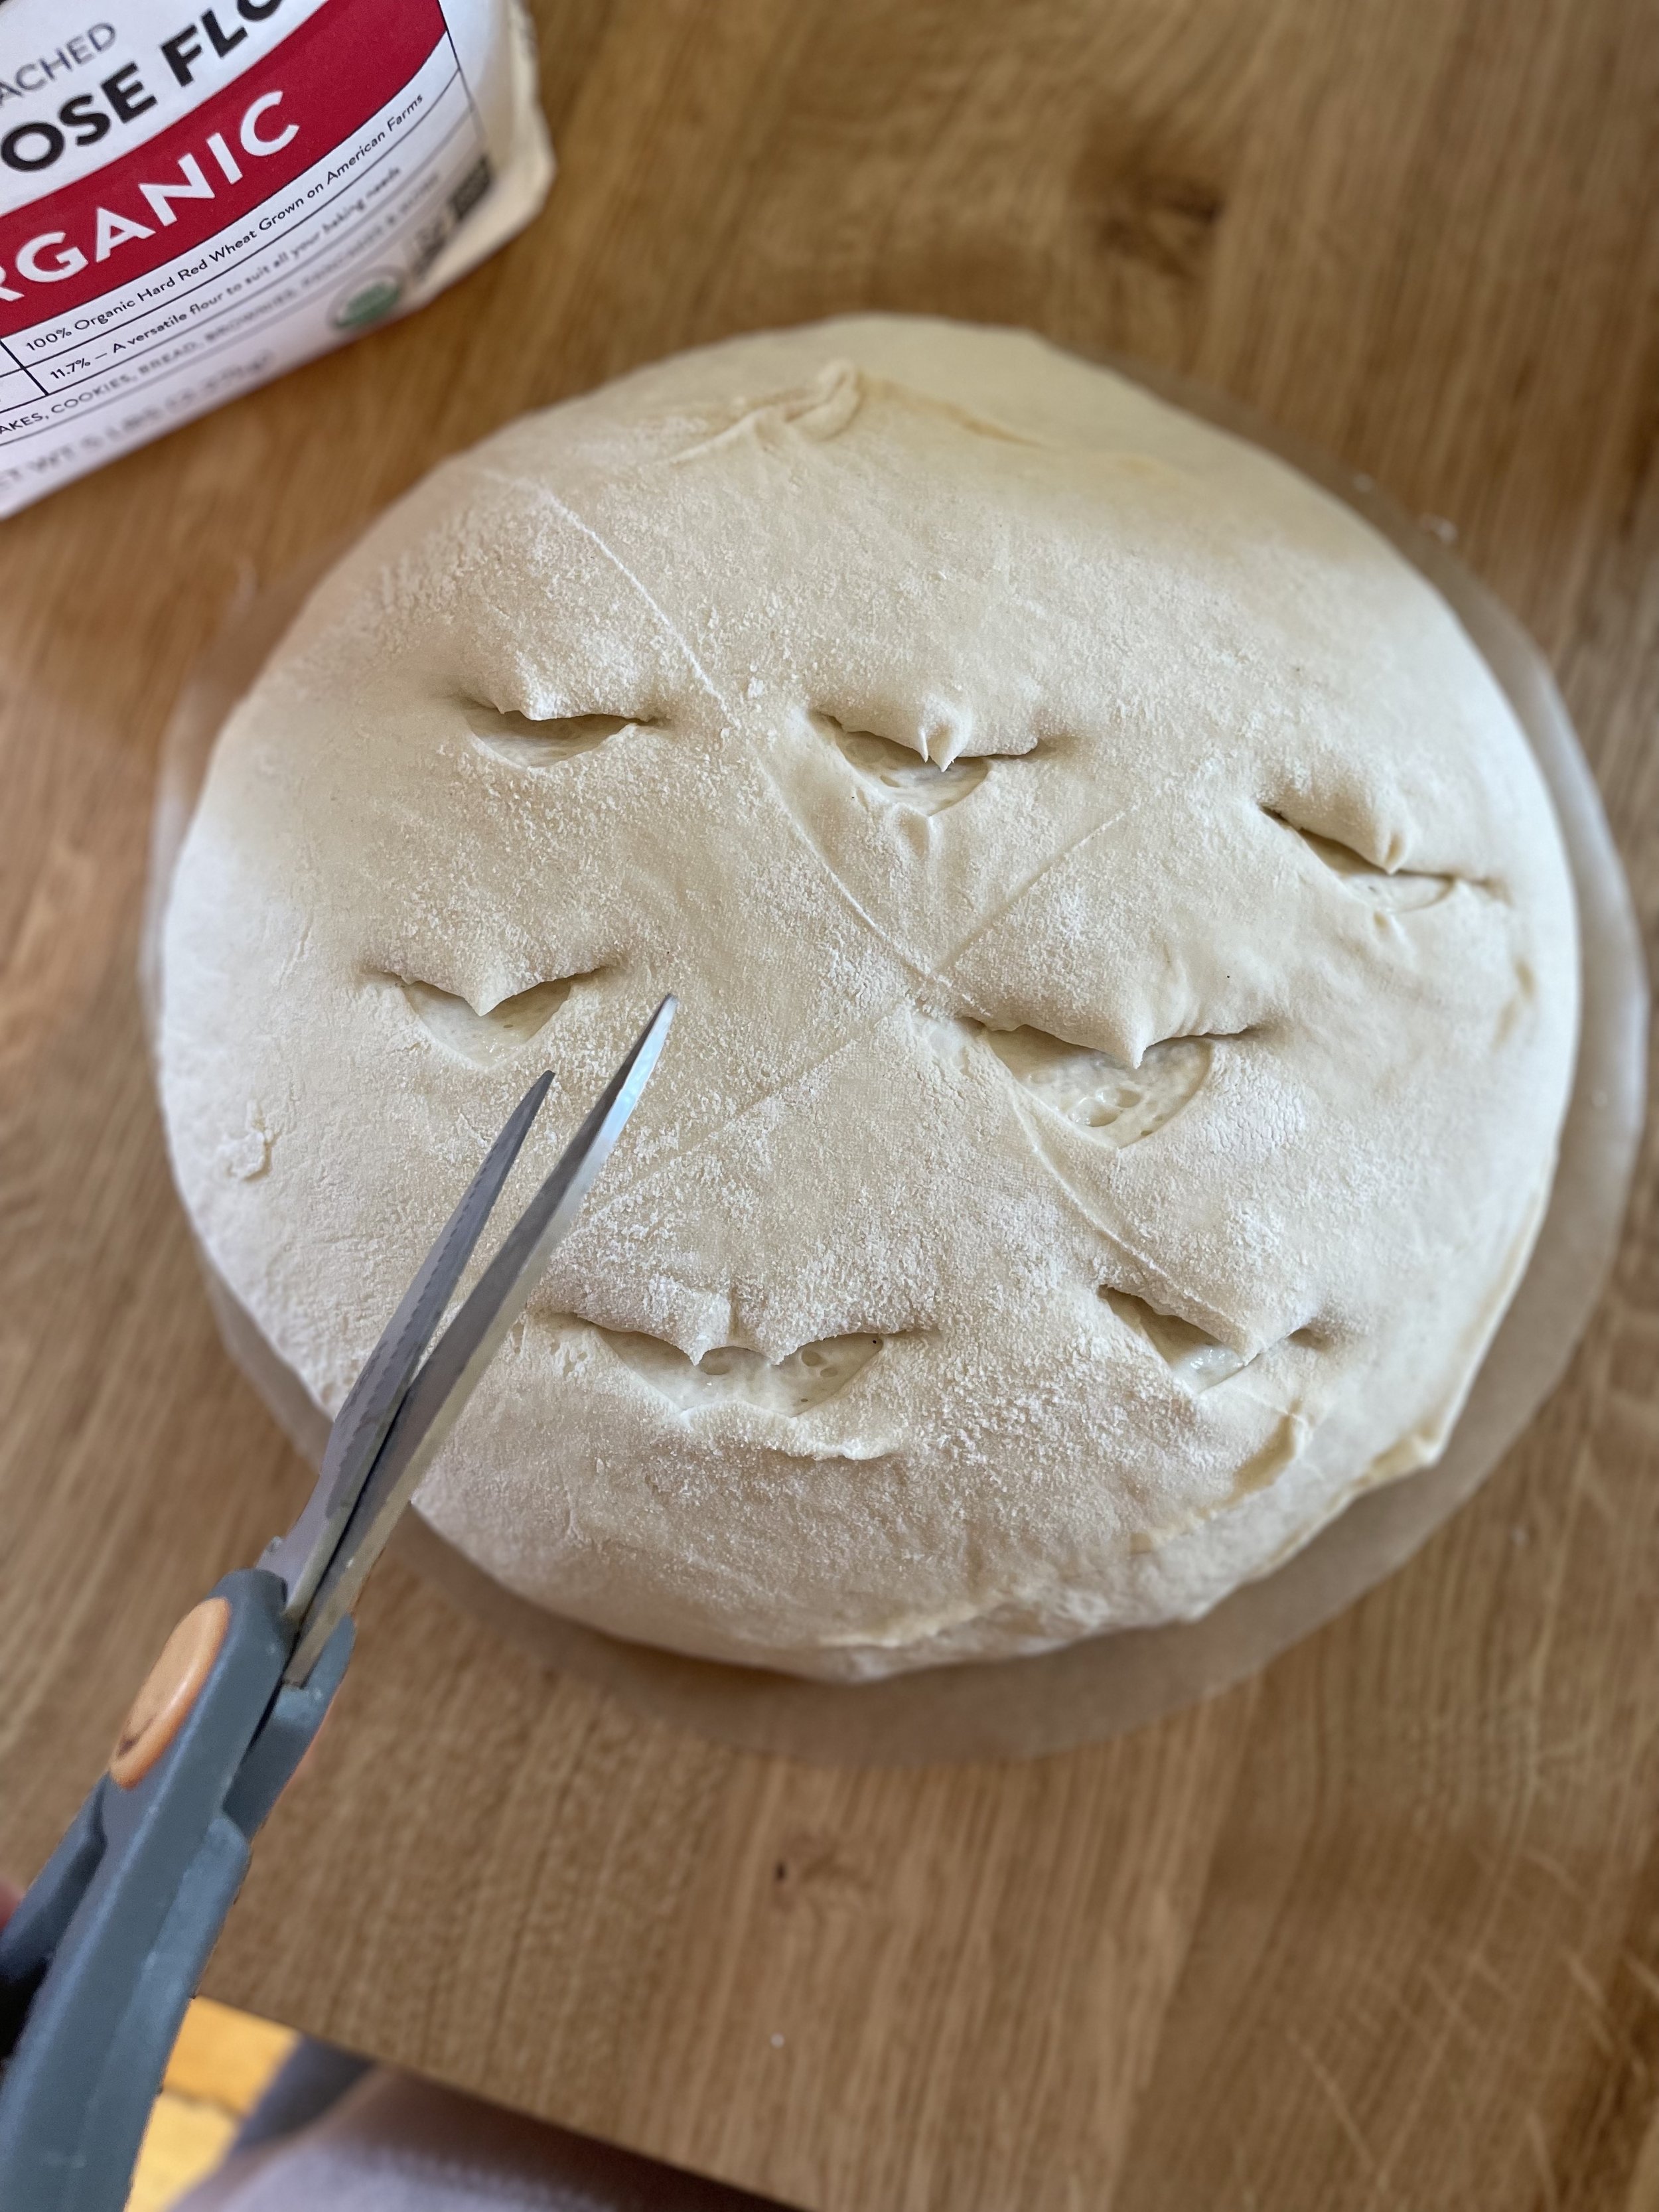
cut a parchment paper circle and lightly flour
plop dough ball, seams down onto parchment paper
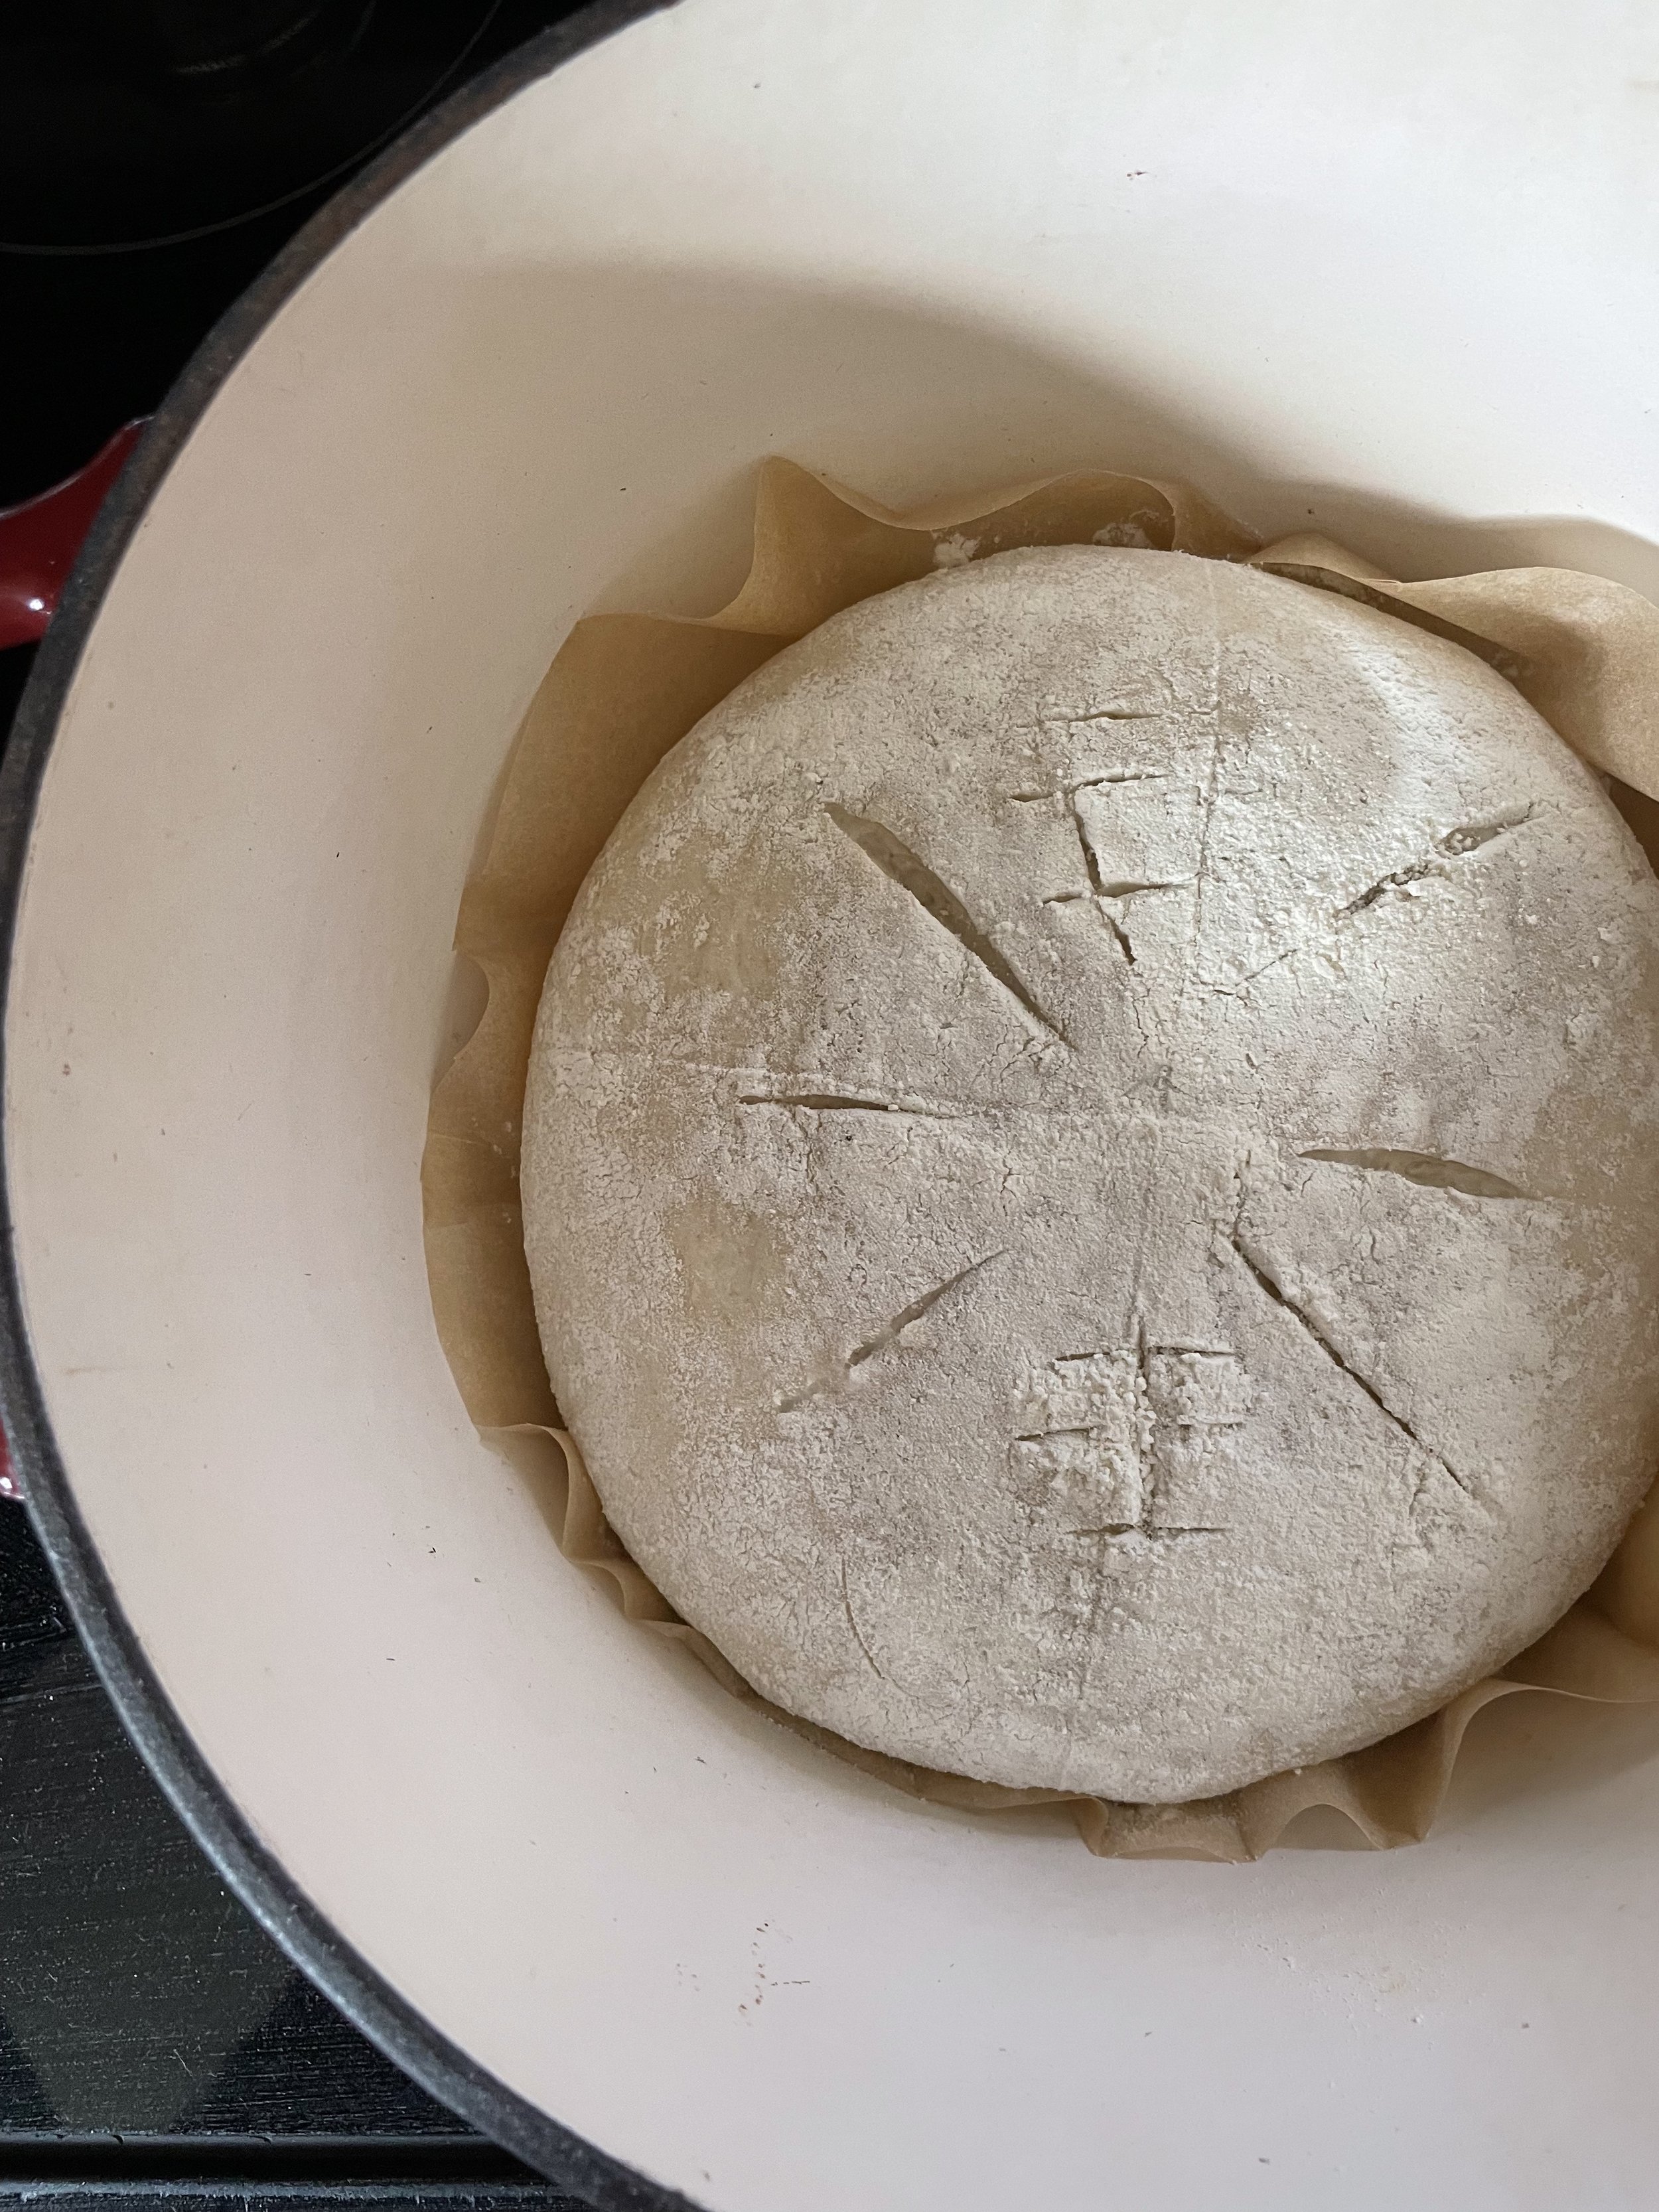
cut 5-6 slits into the top of the dough
plop the parchment paper into the bottom of the dutch oven
turn the oven down to 485 degrees and bake with the lid on for 18 minutes
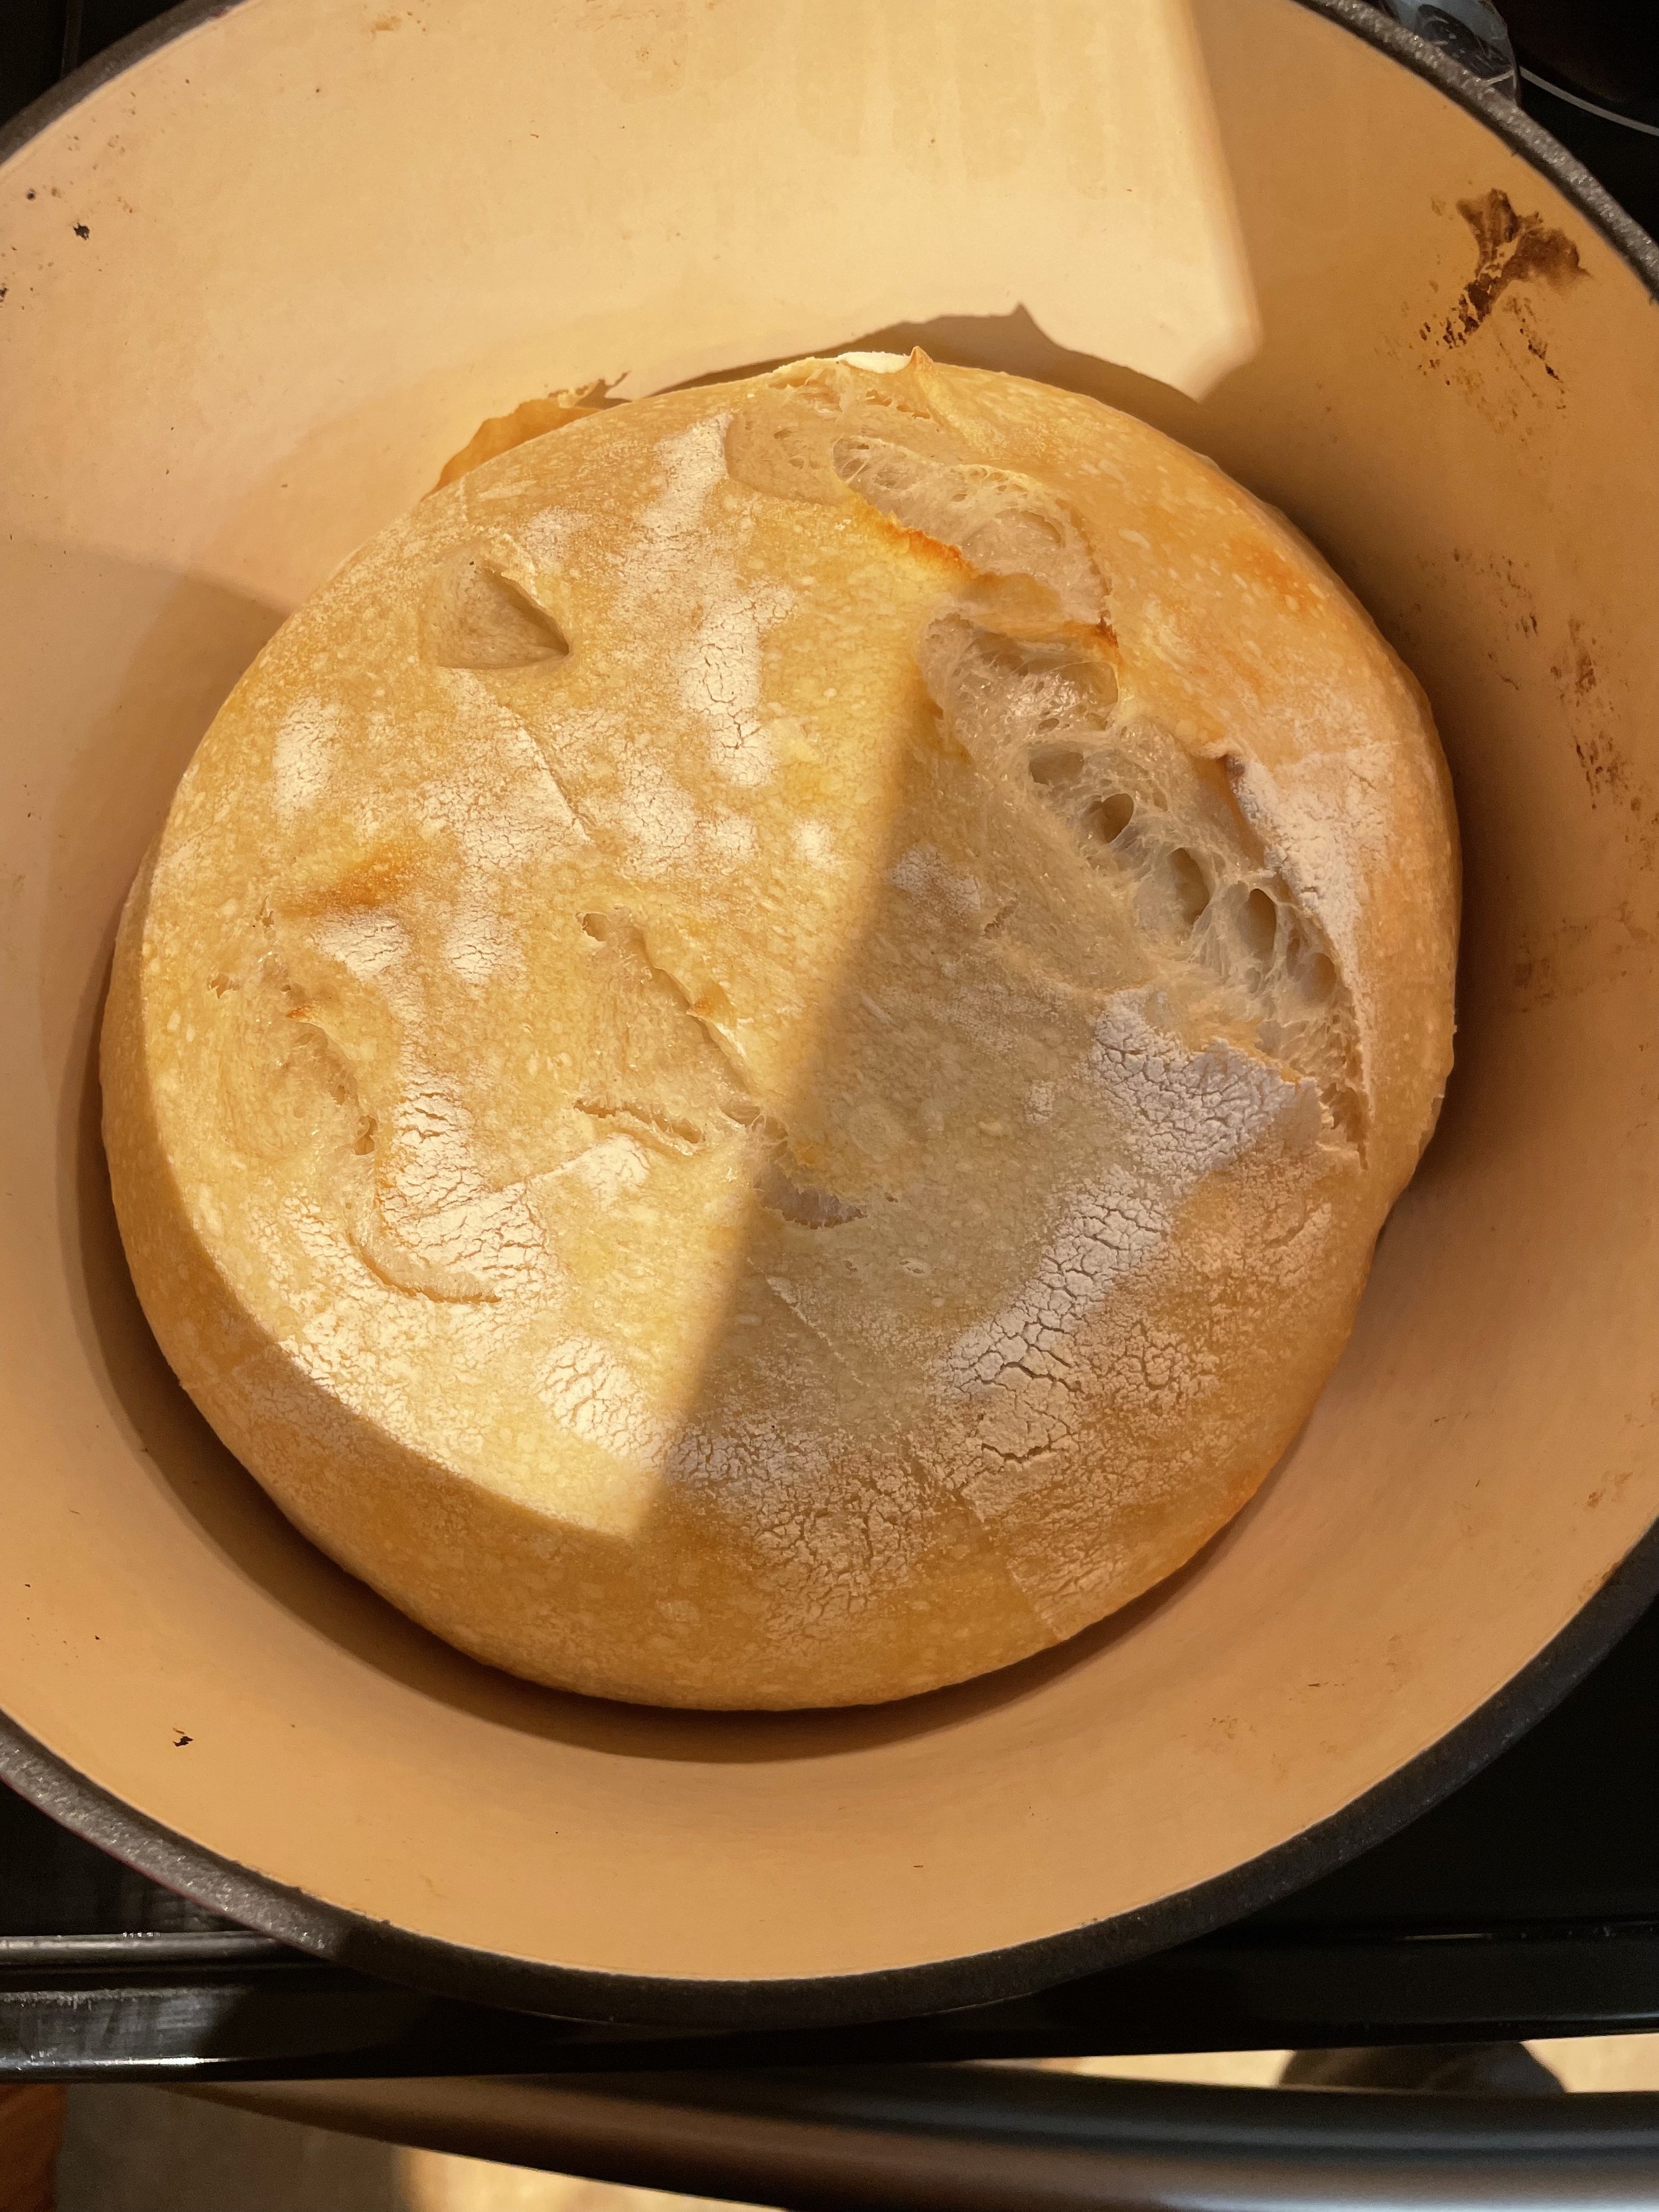
after 18 minutes
remove the lid and lower the oven temp to 465 degrees
bake for an additional 20 minutes
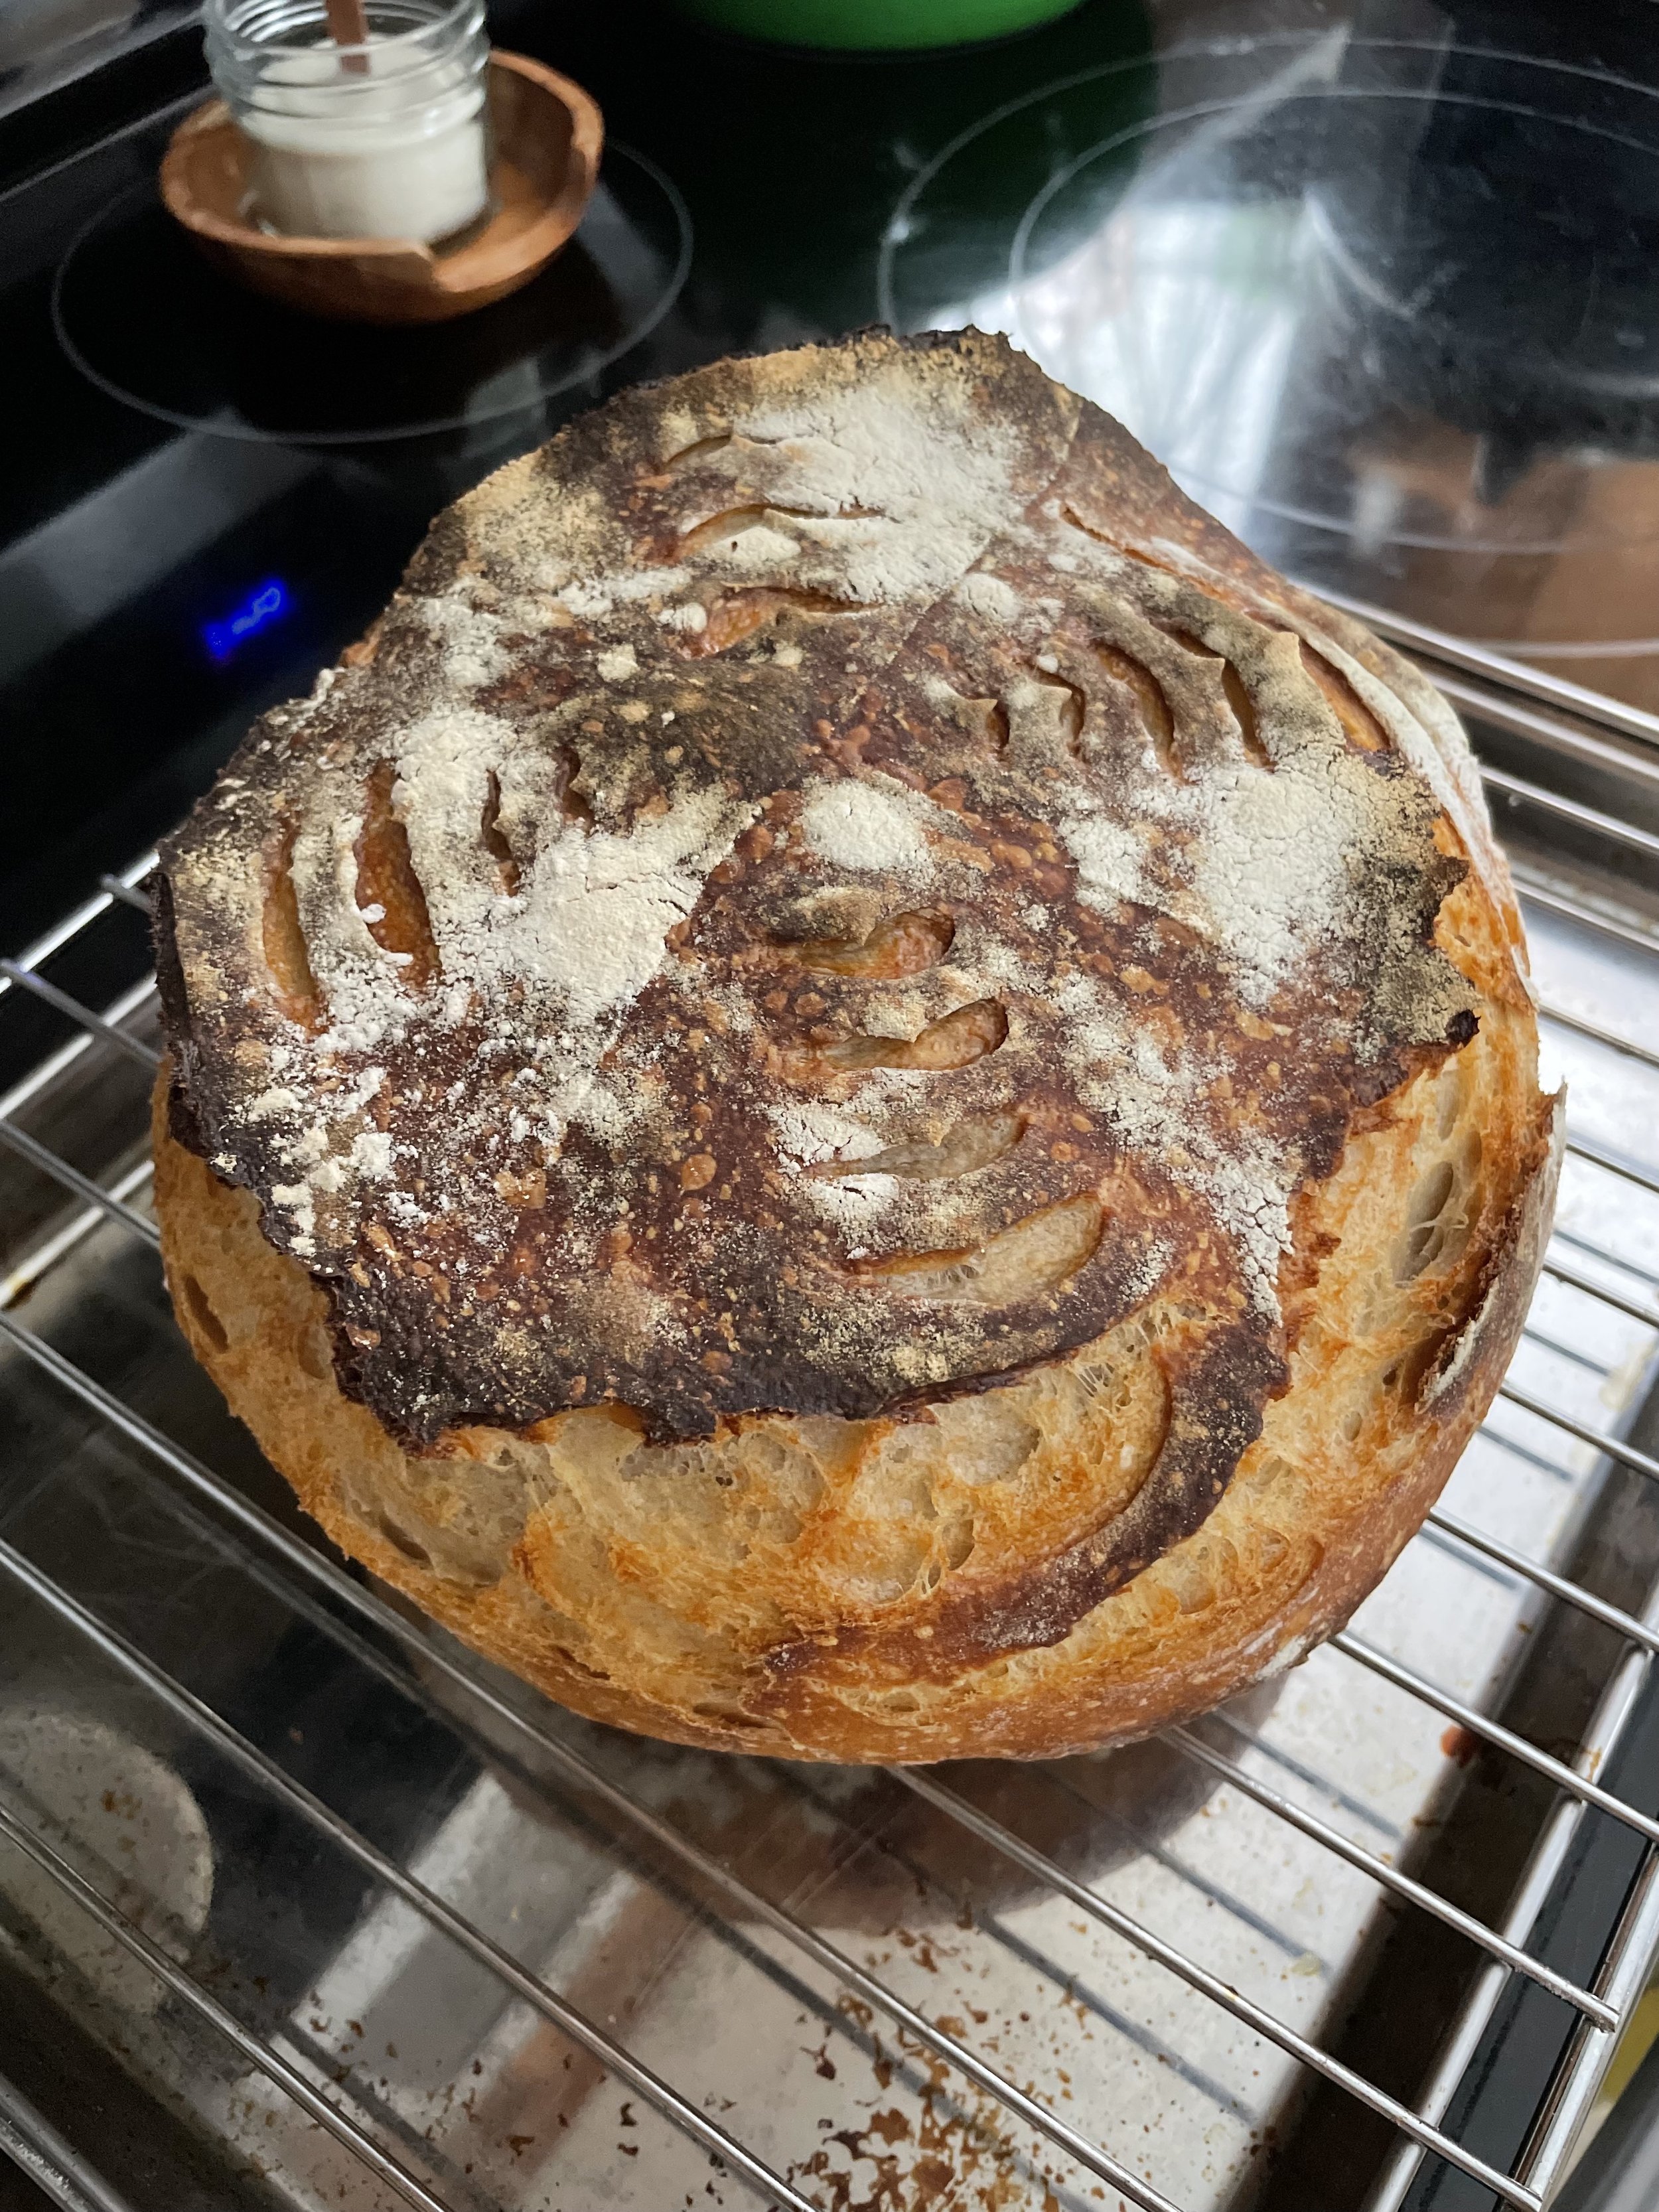
after 20 minutes
remove loaf from dutch oven and place on cooling rack
allow to cool for at least 30 minutes before cutting
enjoy a fresh slice of the best bread ever!
